 Entry
Entry Dashboard
 Contacts
 Properties
 Email
Email Calendar
 Tasks
Tasks Acquisition Cockpit
 Audit-proof mail archiving
 Automatic brochure dispatch
 Billing
 Groups
 Intranet
 Marketing Box
 Multi Property module
 Multilingual Module
 onOffice sync
 Presentation PDFs
 Process manager
 Project Management
 Property value analyses
 Enquiry Manager
 Showcase TV
 Smart site 2.0
 Statistic Tab
 Statistics toolbox
 Success Cockpit
 Time Tracking
 Address from clipboard
 Text block
 Customer communication
 External Tools
 Favorite links
 Calculating with formulas
 Mass update
 onOffice-MLS
 Portals
 Property import
 Quick Access
 Settings
 Templates
 Step by step
You are here: Home / Additional modules / Online feedback / Online feedback

Online feedback
Online feedback
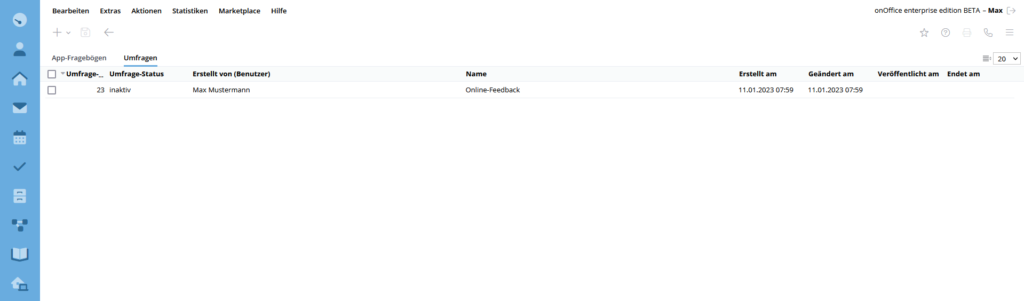
Via the menu bar (Edit → Questionnaires/Surveys → Tab: Surveys) you will get to the surveys. Here you can manage your existing surveys or create new ones using the button. If a new survey is created, you will be taken directly to the editing mode.
All surveys are output in a list view. The following information can be obtained from this view:
- Survey ID: Each survey is given a unique ID.
- Created by (user): Name of the user who created the survey.
- Name: Survey Name.
- Created on: Date and time when the survey was created.
- Modified on: Date and time when the survey was created.
- Published on: Date and time when the survey was published.
- Ends on: Date and time when the survey ends and is no longer usable.
An existing survey can be duplicated using the icon. After you press Duplicate, you need to give the survey a name. This then opens in edit mode.
It is also possible to select multiple surveys using the checkboxes on the right-hand side of the list view. If one or more surveys have been selected there, you can delete or evaluate surveys via the action bar.
To edit a survey, you can click on the desired survey in the list view or open the edit mode using the pencil icon.
Below the menu bar at the top left-hand edge is the disk to save the survey and the arrow to return to the list view.
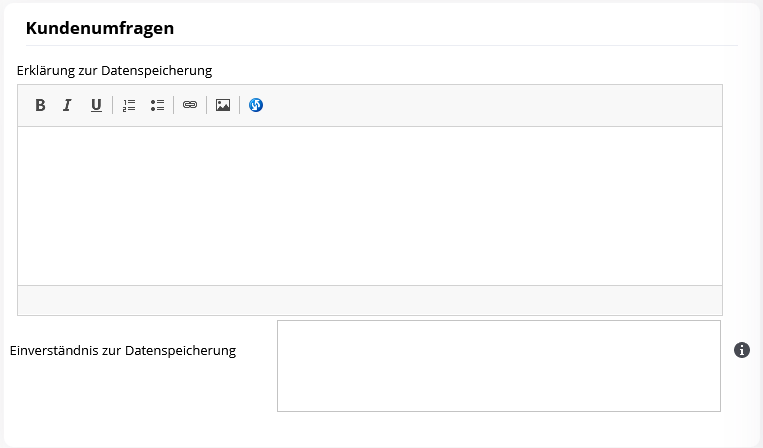
After opening the edit mode for the new survey, you will see the outline in the left part and the basic settings of the survey in the right part. You can open the basic settings at any time by clicking the button ![]() .
.
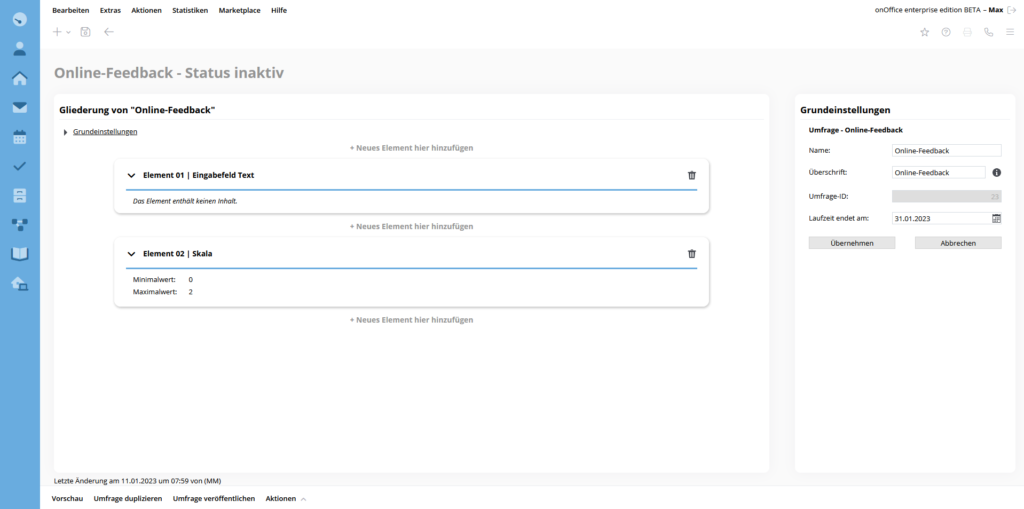
By default, the “Scale” element is created in each new survey. You can insert additional elements using the “+ add new element here” button. By clicking on an element you can edit it and insert appropriate values for the fields. The element being edited is highlighted visually. There is an arrow on the left-hand edge of each element which you can use to open or close . It is also possible to collapse or expand all elements simultaneously using the action bar (Actions → Collapse All / Expand All).
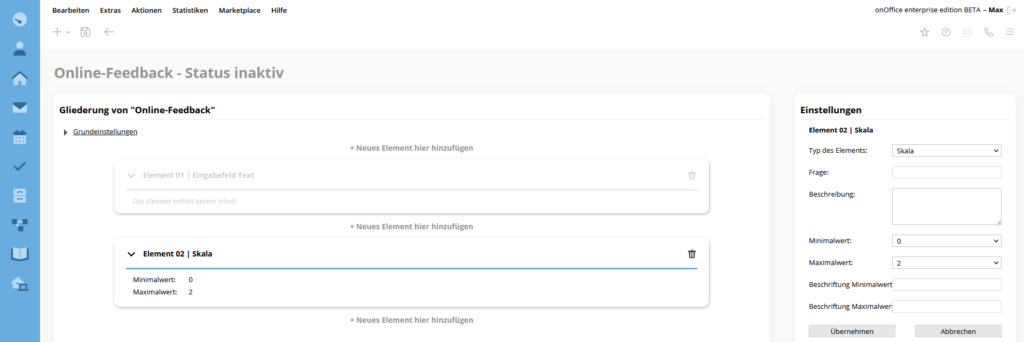
Element types
Scale – Outputs a rating scale in the survey.
- Question: The question to be evaluated is entered here.
- Description: Here you can enter a description of the question. If this field remains empty, it will not be displayed in the survey.
- Minimum value: Minimum value, which can be selected in the scale.
- Maximum value: Maximum value, which can be selected in the scale.
- Label minimum value: Specifies the label of the minimum value.
- Label maximum value: Specifies the label of the maximum value.
Text input field – outputs an input field of the Text type in the survey.
- Question: Here the question is entered, to which the customer can respond in text form.
- Description: Here you can enter a description of the question. If this field remains empty, it will not be displayed in the survey.
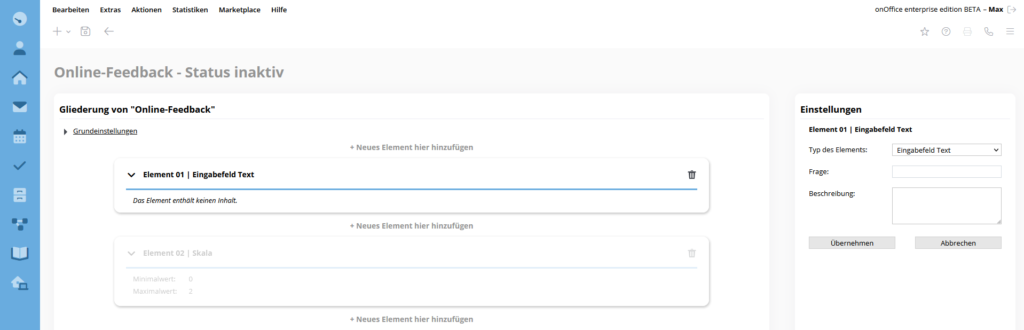
Survey status
inactive – the survey is “inactive” if it has not been published or closed yet. In this status, editing can be performed.
published – if the survey is set to “published” after editing, it is no longer possible to edit it. In this status, the survey can be sent to the customer.
completed – If the survey has been published and the previously set expiration date has occurred, the status changes to “Completed”. The survey can no longer be edited or sent. Now there is a possibility to evaluate the survey via a CSV export.
Threshold value – With the drop-down menu “Threshold value” and the corresponding action feature, processes can be started automatically for the customer survey / online feedback as soon as a question has been rated poorly by the participant. The results of the threshold value can be viewed in the activities/agent’s log.
The threshold value works with 2 different operators “lower than” and “higher than”, which can be limited with values from 0-10.
If, for example, the operator “lower than” and the threshold value “3” are specified, the criteria for a negative evaluation are met if the participant evaluates the question with 0, 1 or 2 points. When the survey is completed, the activity is assigned the above-mentioned characteristic.
In edit mode, you have the option to view the configured survey via Action Bar → Preview. Then a new tab will open with the survey, which the customer will see when sending.
If you have completely configured your survey and want to publish it, you have to set the runtime end of the survey in the basic settings beforehand. If you have met all the requirements for publishing, the following message will appear:
“Are you sure you want to publish the survey? Surveys, once published, cannot be subsequently edited.”
If you confirm this message by clicking “OK”, the survey will be published and can then be sent to customers.
You also have the option of extending the duration of the survey in its published state. To do this, open the editing mode of the desired survey to adjust the duration.
After completing the survey, you can evaluate it. To do this, select the desired survey(s) in the list view via the checkbox(es) and press the “Evaluate survey” button in the action bar. After that, a CSV export is performed and the file is placed in its predefined download folder.
The CSV file contains the survey in tabular form. The first line contains the name of the column and below it the evaluation of the feedback given by the customer.
If the survey was sent to a customer, this is stored in the activities and in the agent’s log and thus made traceable.
Since the evaluation and the CSV export can only be performed with assigned rights, it is possible that users without these rights can also view the results of the survey.