 Entry
Entry Dashboard
 Contacts
 Properties
 Email
Email Calendar
 Tasks
Tasks Acquisition Cockpit
 Audit-proof mail archiving
 Automatic brochure dispatch
 Billing
 Groups
 Intranet
 Marketing Box
 Marketplace
 Multi Property module
 Multilingual Module
 onOffice sync
 Presentation PDFs
 Process manager
 Project Management
 Property tracking
 Property value analyses
 Enquiry Manager
 Showcase TV
 Smart site 2.0
 Statistic Tab
 Statistics toolbox
 Success Cockpit
 Time Tracking
 Address from clipboard
 Text block
 Customer communication
 External Tools
 Favorite links
 Calculating with formulas
 Mass update
 onOffice-MLS
 Portals
 Property import
 Quick Access
 Settings
 Templates
 Step by step


You are here: Home / Modules / Calendar / Appointments (Calendar) / Appointment action bar

Calendar
Appointment action bar
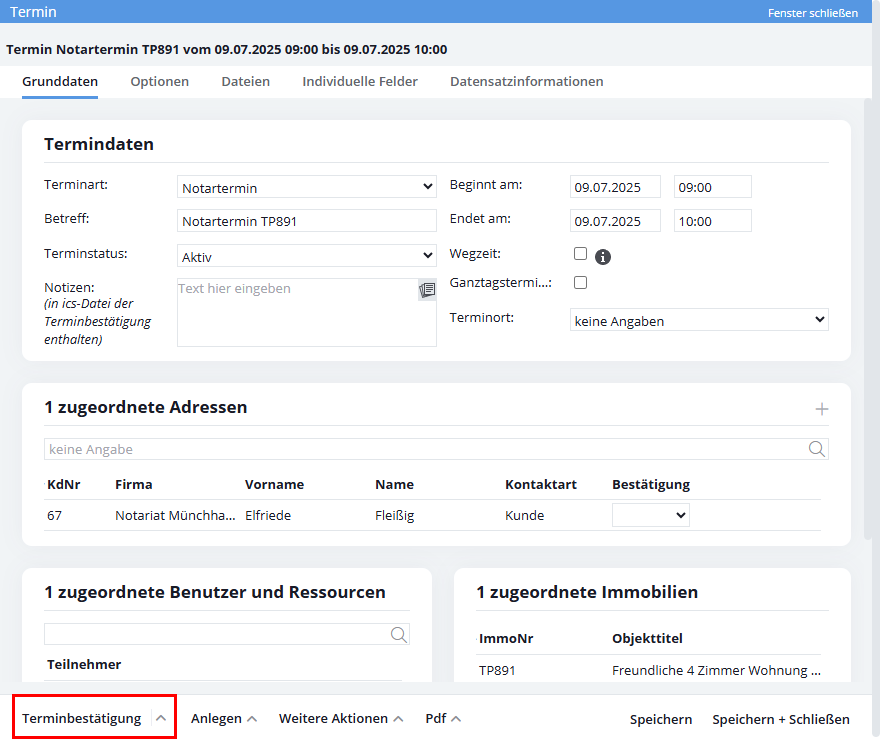
The appointment action bar contains functions/actions that can be performed with the appointment. The Action bar is located at the bottom of the open appointment.
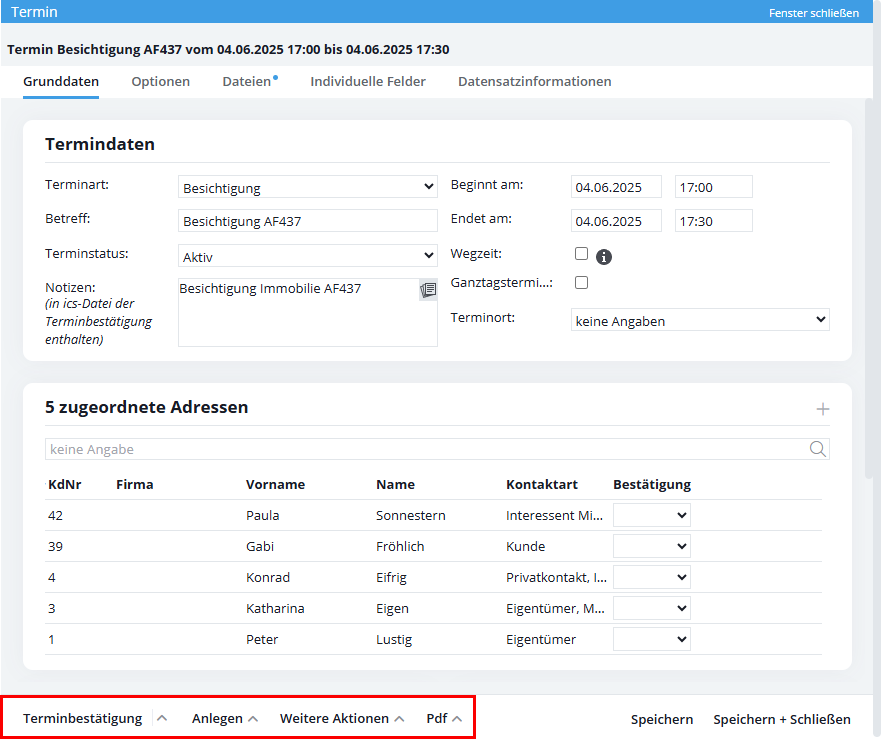
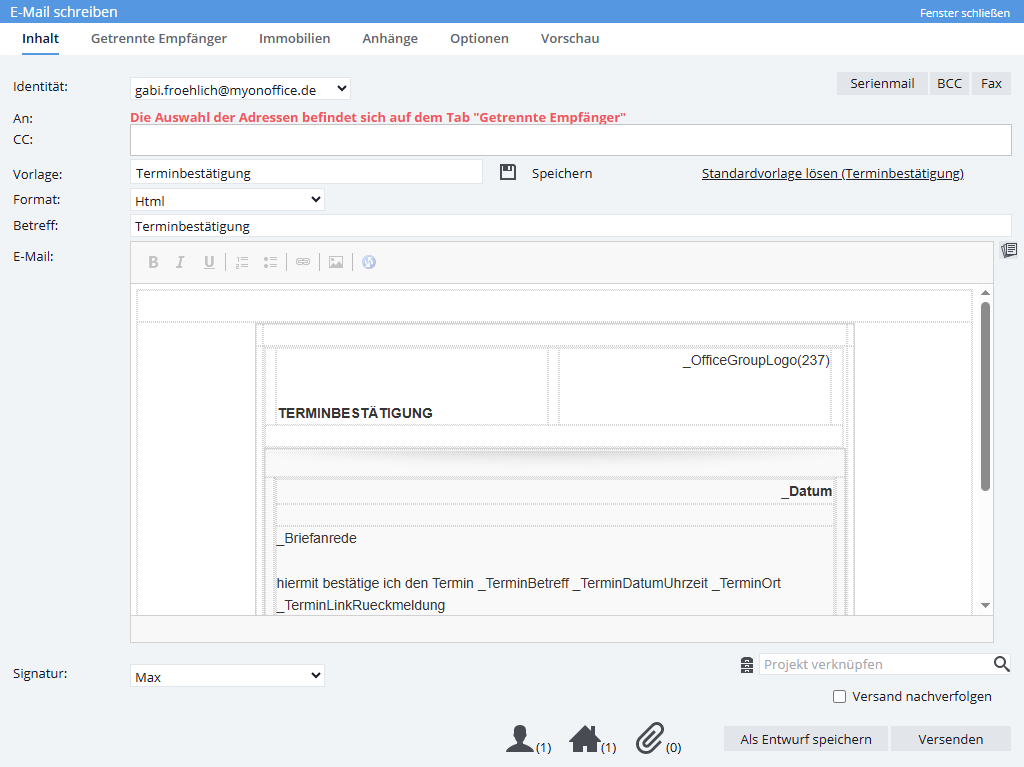
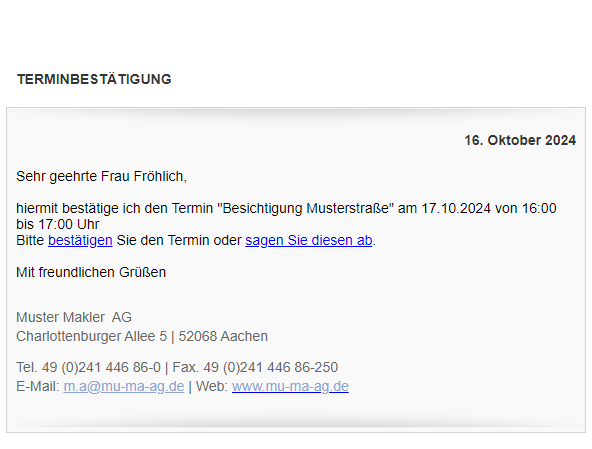
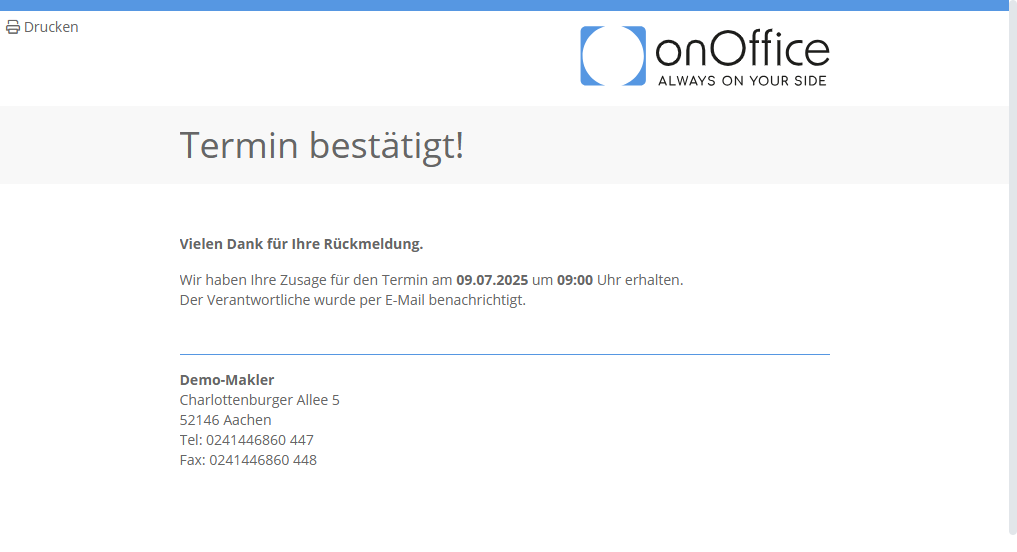
With the appointment confirmation you can inform the prospect and the other participants about the appointment – or invite them – and ask for confirmation of the appointment. The appointment confirmation is sent to all linked contacts and to the registered users. The participants under “assigned contacts” will receive an email in which you can confirm or cancel the appointment. An email with the appointment data is sent to the registered users of the appointment.
If you resend the appointment confirmation, only newly added contacts will be notified.
When the date or start time of an appointment is changed, all appointment confirmations are reset and you can send new invitations.
If you click with the mouse on an appointment in the appointment overview, the status of the appointment confirmation is displayed.
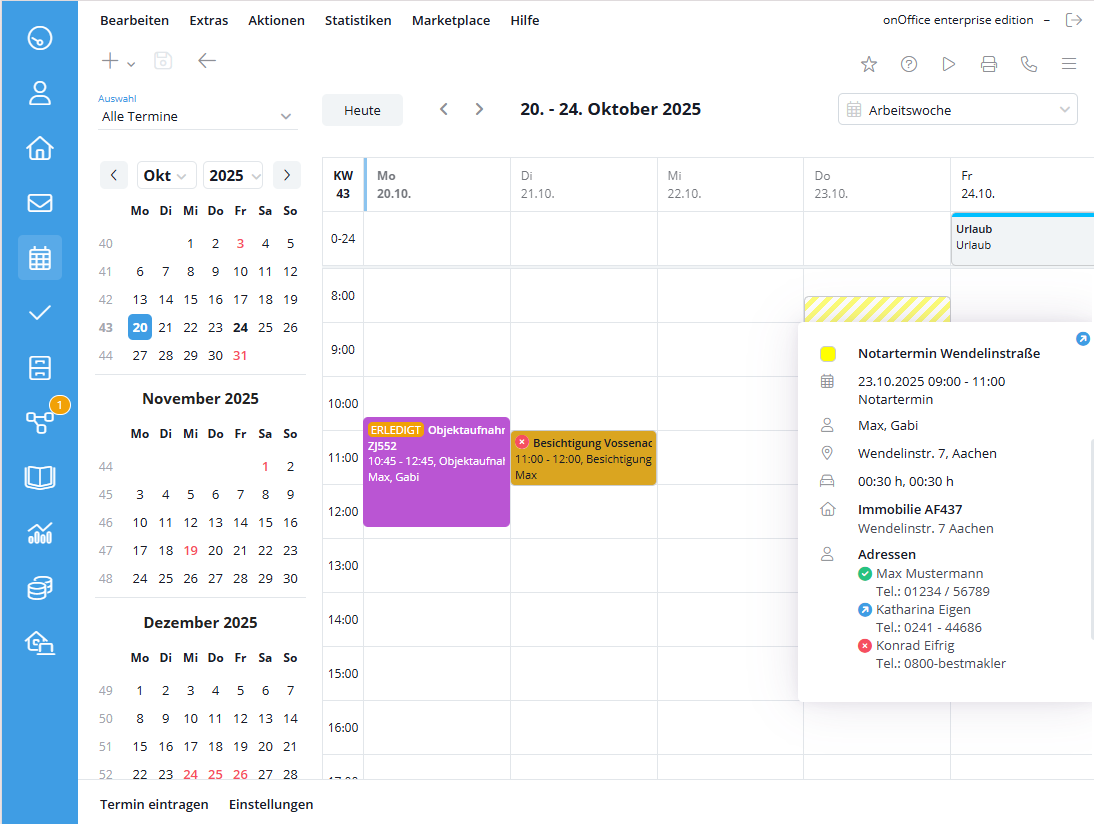
Here is the overview of the appointment status icons:
| Appointment confirmation sent | |
| Appointment has been confirmed | |
| Appointment was canceled |
Appointment confirmation via WhatsApp
You also have the option of requesting appointment confirmations via WhatsApp. The procedure for WhatsApp is described in more detail here .
Start task
You can use the “Create task” function in the action bar of the appointment detail view to create a new task directly from an appointment. The subject, task description and linked contacts and properties are automatically copied from the appointment. This allows you to easily create follow-up tasks or to-dos that are directly related to the appointment.
Start process
If the “Process manager” add-on module is available, you can start a process from the appointment. By default, the contact that was first added to the appointment is used for the contact link in the process. However, you can also change the contact link in the process start pop-up . In addition to the contact and property data, all other appointment data such as subject, date, start and end time etc. are passed on to the process. This data can then be used via appointment macros in an email, for example. If a subsequent process is started from this process, the data is not lost but is also passed on to the subsequent process.
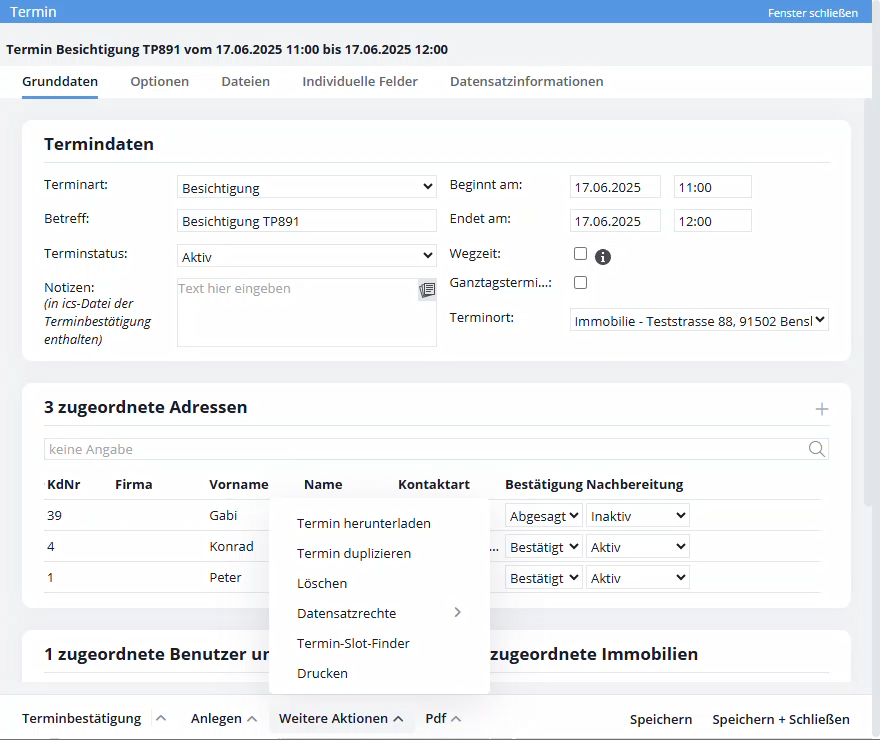
Download appointment
With this function you download the appointment as a file and you can send it e.g. by email. This way, the appointment can easily be entered into a calendar outside of onOffice. If you open this file e.g. in Outlook, the appointment will be entered into the Outlook calendar.
Duplicate appointment
The displayed appointment is duplicated and opened in a new pop-up. In this, the appointment can be edited and saved.
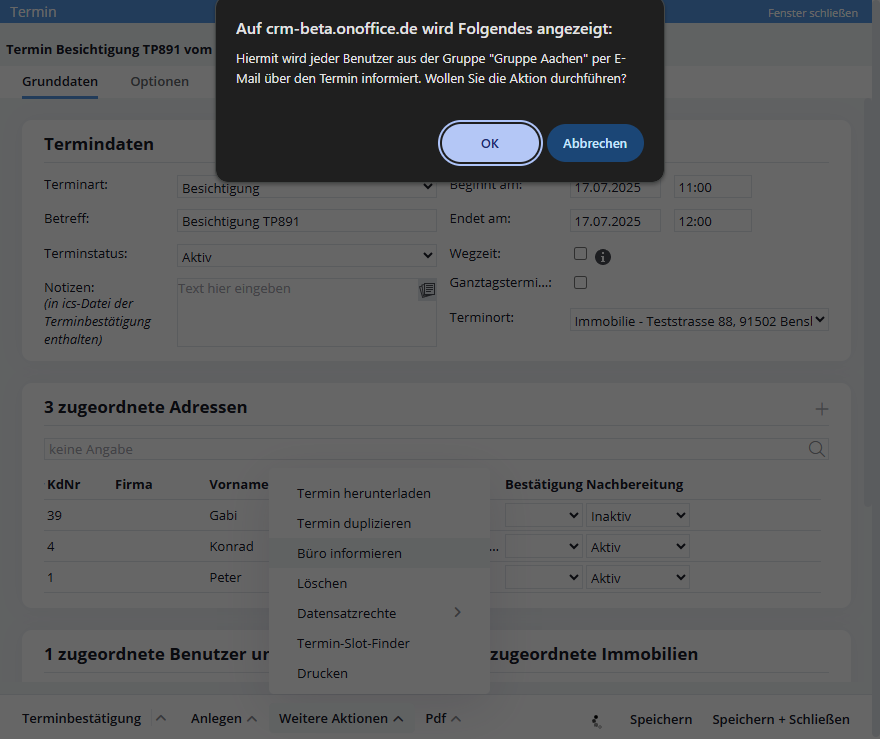
Inform Office
This item appears only if groups are set up. In case of an appointment e.g. away from home, you can use it to inform the other members of your group about the new appointment via email.
The email to the group members will be sent only after the confirmation in the hint box.
Delete appointment
By clicking this button you will delete the selected appointment.
Data record permissions
With the administrator right set to data record permissions, you can view this in the appointment.
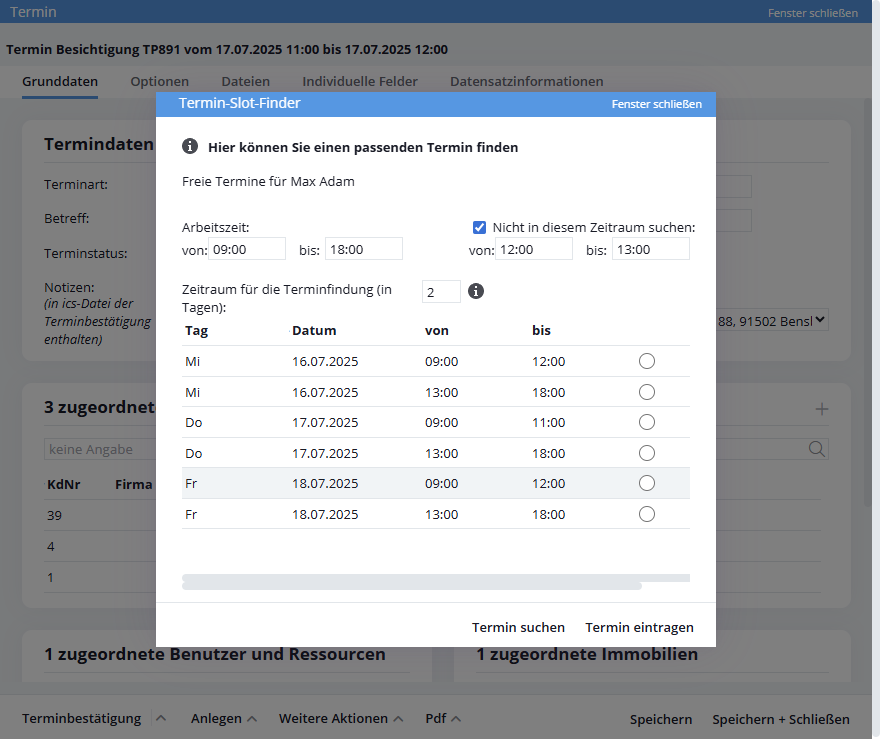
Appointment slot finder
If there is an overlap with other appointments, this tool gives you the possibility to simply search for an appointment window for all users and resources entered in the appointment. Please note that this only works for dates in the future. A detailed description can be found in the appointment basic data.
Print appointment
Clicking this button will open a print view of this appointment in your browser.