


You are here: Home / Additional modules / Multilingual Module / Multilingual Module Settings

Multilingual Module

Multilingual Module Settings
Activate languages

German, English, Spanish, and Italian are automatically enabled in the multilingual module for properties. If the desired language is not available in the language selection for contacts or properties, you can activate it under Extras >> Settings >> Basic Settings >> Language tab .

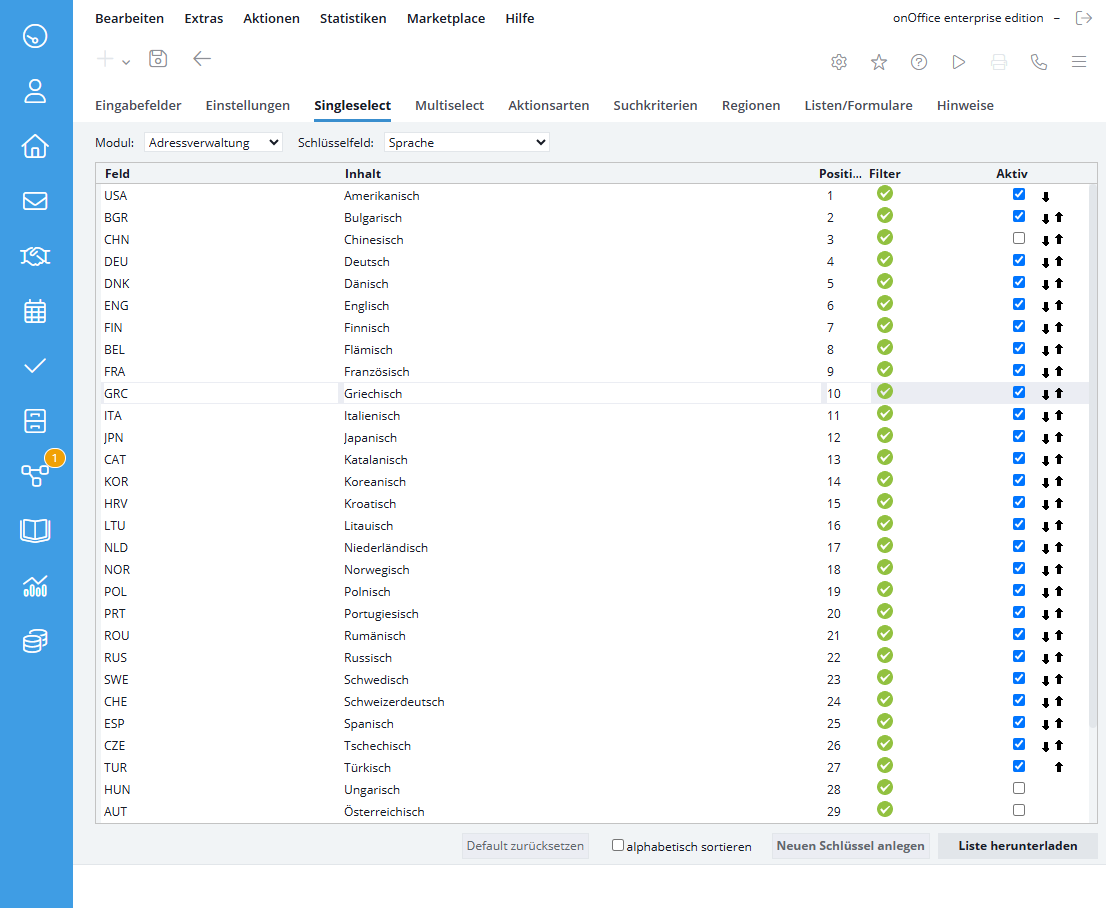
To enable languages for contacts, go to Tools → Settings → Administration, Singleselect tab, Contact Management module, Language key field.

You can find a training video on the subject of multilingualism here.

Standard language for contacts

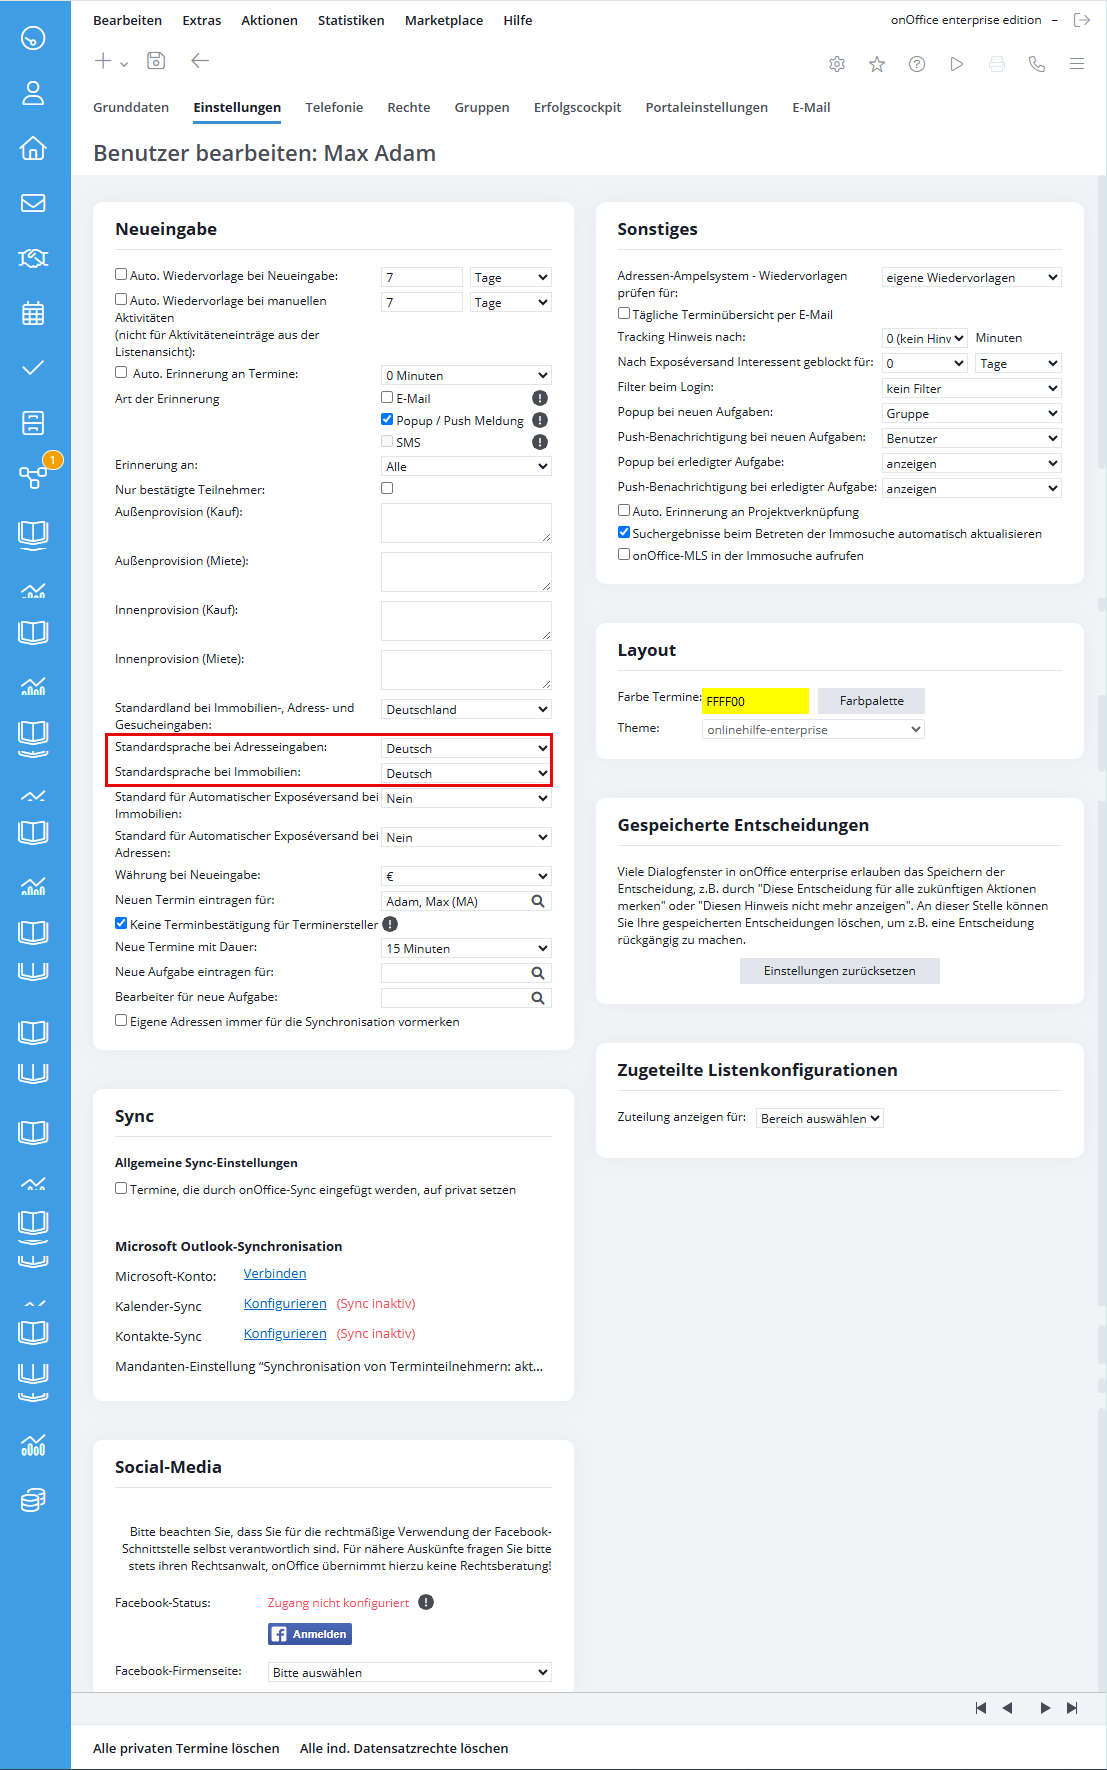
Some properties of newly created contact records can be specified via Settings in the user Extras >> Settings >> User >> User name >>Settings tab. One of these is the contact language.
Default language for contact entries: This is an individual adjustment, so the employee who mainly looks after customers from a neighbouring country always has the desired language preset directly for his new contacts.

Standards for properties

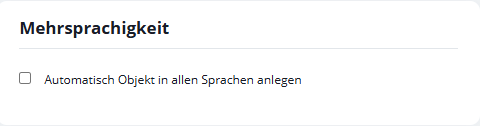
In properties, there is more than one setting. Analogous to the contacts, there is a default language for property in the user settings and additionally the option Automatically create property in all languages:.
The latter is not a user-specific setting, but applies to all users. Therefore, the option is located in the basic settings, more precisely in Extras >> Settings >> Basic Settings >> Tab General >> Category Multilingualism.

The system language is displayed by default and the desired language version is created if a different language is requested by the user.

User interface language

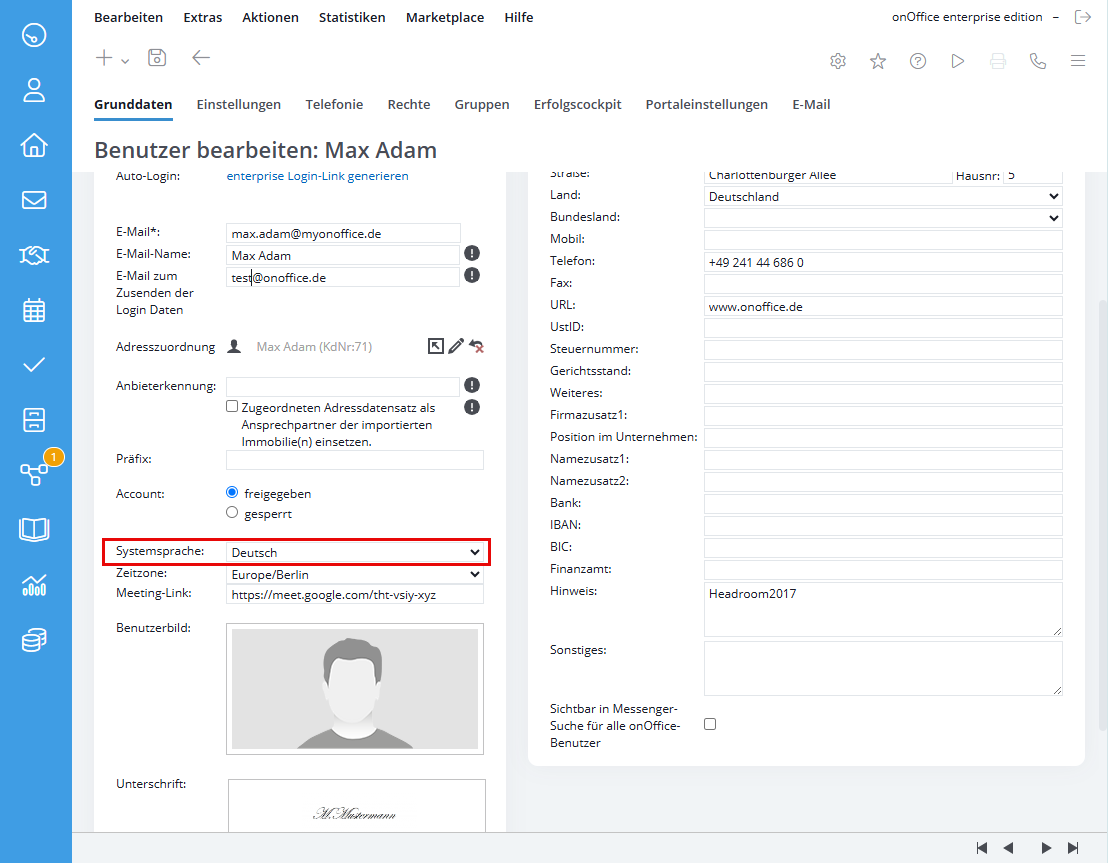
You can change the user interface of enterprise to another language. The language of the user interface is set under Extras >> Settings >> User >> User name >> Basic data tab in the “System language” field.
The languages listed here are independent of the list of languages for properties and contacts in the basic settings.

Language dependent fields

For multilingual properties, all language-dependent fields (e.g., free-text fields such as location, description, and amenities) are maintained in the respective desired languages. All other property fields are synchronized across the different language versions of a property.
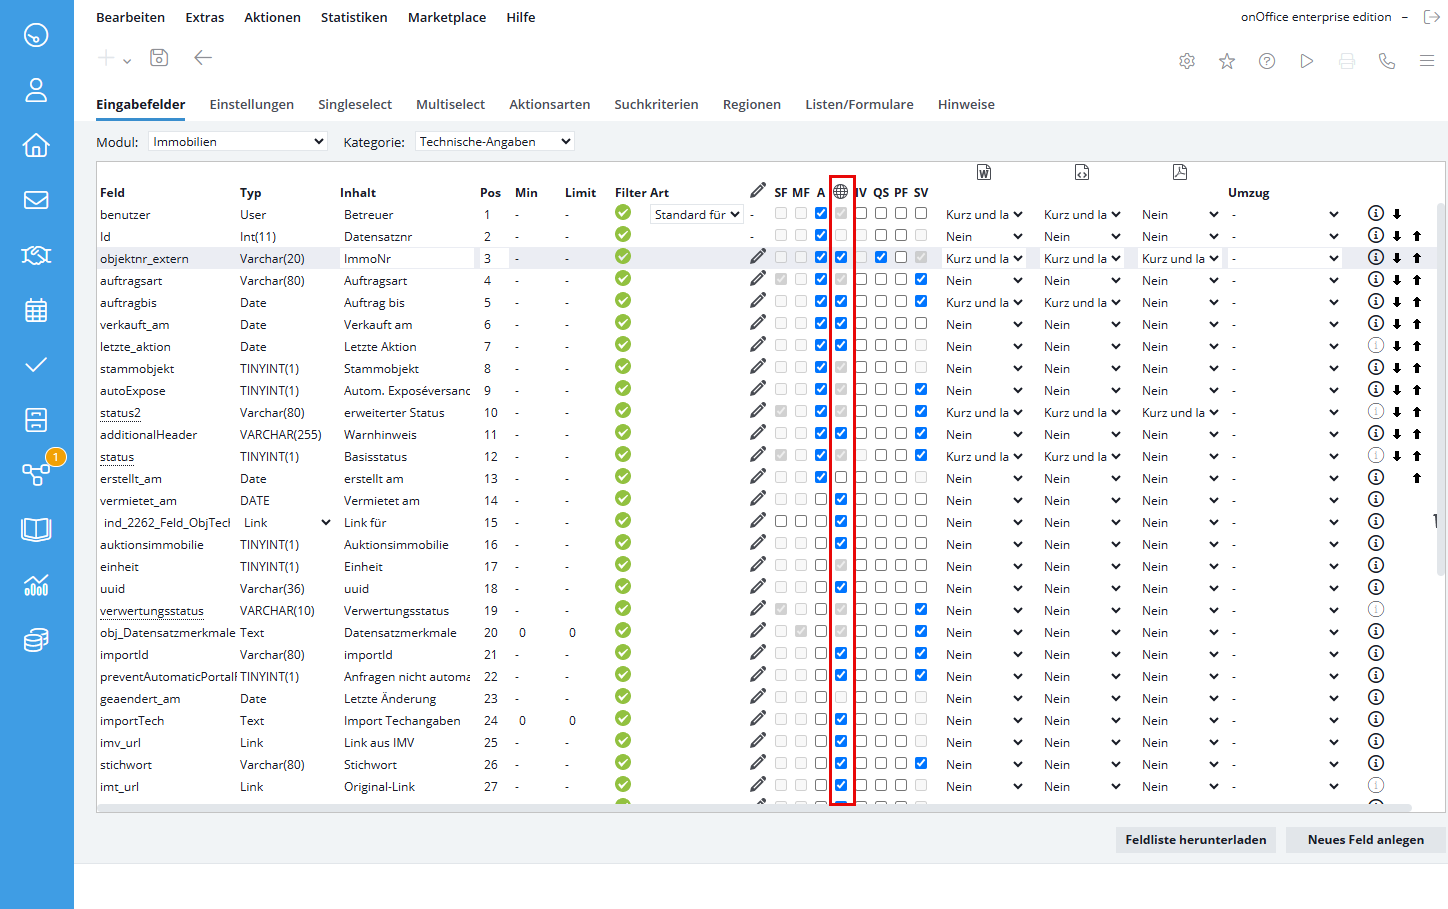
You can configure which fields are language-dependent under Extras → Settings → Administration → Input Fields tab.

Use the column with the globe icon (Multilingual Update) to control how the fields behave:

  • Checkbox disabled (field is language-dependent):
    There is one instance of this field per language. You can switch directly to the property’s language version, enter the value in the desired foreign language, and save it. A translation using a dictionary is not necessary in this case.
  • Checkbox selected (field is synchronized across languages):
    Whenever the value is edited, it is automatically synchronized to all language records for the same property. If you would like to display the value in another language, please translate it using the dictionary (see below).

Translating Individual Fields Using the Dictionary

If the “Multilingual Update” option is enabled for a specific field, the text entered there is automatically applied to all language versions. To display a specific text in a foreign language, follow these steps:

Step 1: Enter a value in the field

  • Enter the desired source text (e.g., in the primary language, German: “Key 1”) into the corresponding field for the property and save it.
    • Note: This applies to field contents as well as to single-select and multi-select keys.

Step 2: Trigger registration in the dictionary

When creating or changing the language in a property’s detail view, the newly entered field with the sample content “Key 1” is not automatically added to the dictionary.
For the term to appear in the dictionary, it must be displayed once in a target language (e.g., English):

  • Create a property description, letter, or email for the property in the desired target language.
  • When generating the output, the system automatically adds the text as a new entry in the dictionary (without a translation yet).
    • Note: In this first issue, the original text is still displayed because the translation is not yet available in the system.
  • Alternatively, you can also change “Your system language” to the desired translation language and open the view with the field in Enterprise.

Step 3: Add the translation to the dictionary

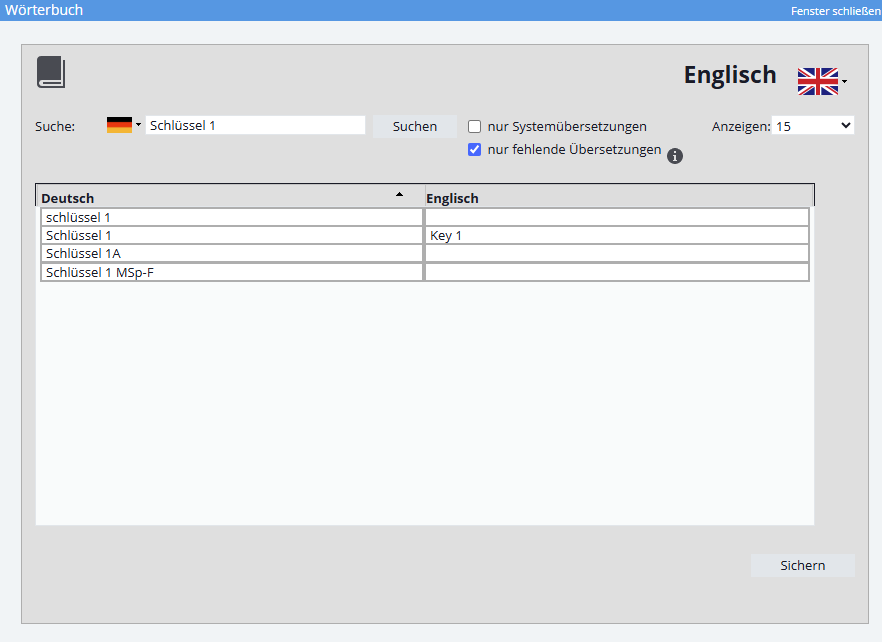
  • Navigate to Extras → Settings → Dictionary.
  • Search for the appropriate term (e.g., “Key 1”).
  • Limit the search to “missing translations only.”
  • Enter the translation in the target language column (e.g., “Key 1”).
  • Save the change.

Step 4: Check the result

After saving, the cache is automatically cleared. Whenever the document or summary is created or outputted in the target language, the translated term will now be used automatically.