 Entry
Entry Dashboard
 Contacts
 Properties
 Email
Email Calendar
 Tasks
Tasks Acquisition Cockpit
 Audit-proof mail archiving
 Automatic brochure dispatch
 Billing
 Groups
 Intranet
 Marketing Box
 Multi Property module
 Multilingual Module
 onOffice sync
 Presentation PDFs
 Process manager
 Project Management
 Property value analyses
 Enquiry Manager
 Showcase TV
 Smart site 2.0
 Statistic Tab
 Statistics toolbox
 Success Cockpit
 Time Tracking
 Address from clipboard
 Text block
 Customer communication
 External Tools
 Favorite links
 Calculating with formulas
 Mass update
 onOffice-MLS
 Portals
 Property import
 Quick Access
 Settings
 Templates
 Step by step
You are here: Home / Modules / Email / Portal requests

Portal requests

In addition to the pure information about a portal request, you will receive further information based on the color of the star symbol:
 Portal request without contact assignment
 Portal request with contact assignment – unread/read email of a request from an existing property
 Portal request has been answered – manually or via “Answer portal request directly”
 Yellow stars are only displayed in connection with the enquiry manager. The enquiry manager has sent a confirmation of the email address / completion of contact details
 Red stars are only displayed in conjunction with the enquiry manager . Processing was canceled. Details can be found in the enquiry manager widget. When a task should be created, the task is linked in the email at the top of the header.
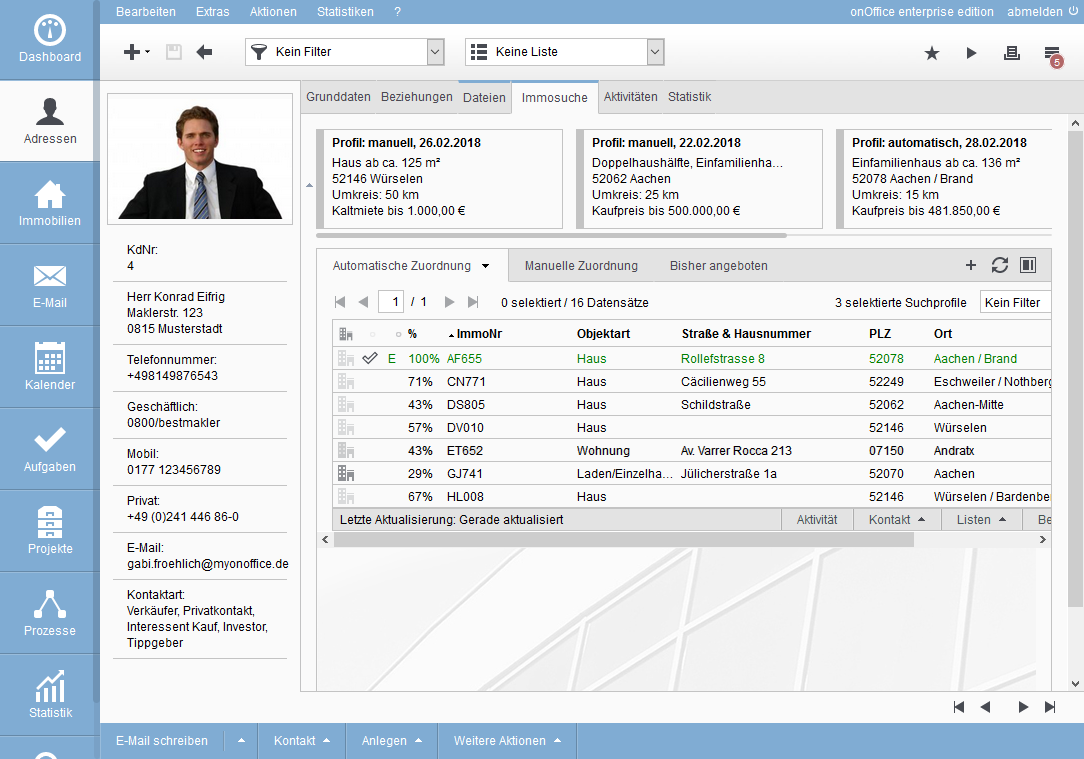
If a portal request is assigned to a contact record, you can continue to process the enquiries. You are divided into 2 areas via the property search. Without property search = direct answer, with property search = indirect answers. For indirect, there are manual and automated responses.
Create contact from portal request
If no contact could be assigned to the portal request, the star in the list is gray. Once a contact has been assigned, the color of the star changes from grey ![]() to green
to green ![]() .
.


Depending on the property, you may want to send different templates or brochures. To do this, select from the drop-down menu from the pairs for “Answering portal requests” that are stored in the Basic settings >> General.
The template pairs can be found in the basic settings (or in the basic data for groups). A property filter can be specified in each level. If the property from the portal request fits into this filter, the corresponding template pair for the “direct reply” is preset in the email. The system checks step by step. “No template found” appears if the property does not fit any filter. You must then select from the available template pairs or write an email with any template from the contact. This step is described in the paragraph “Response after property search”.
After the offer has been sent, the star in the mailbox turns blue ![]() to indicate that the enquiry has already been answered.
to indicate that the enquiry has already been answered.