
 Entry
Entry Dashboard
 Contacts
 Properties
 Email
Email Calendar
 Tasks
Tasks Acquisition Cockpit
 Audit-proof mail archiving
 Automatic brochure dispatch
 Billing
 Groups
 Intranet
 Marketing Box
 Marketplace
 Multi Property module
 Multilingual Module
 onOffice sync
 Presentation PDFs
 Process manager
 Project Management
 Property tracking
 Property value analyses
 Enquiry Manager
 Showcase TV
 Smart site 2.0
 Statistic Tab
 Statistics toolbox
 Success Cockpit
 Time Tracking
 Address from clipboard
 Text block
 Customer communication
 External Tools
 Favorite links
 Calculating with formulas
 Mass update
 onOffice-MLS
 Portals
 Property import
 Quick Access
 Settings
 Templates
 Step by step


You are here: Home / Modules / Contacts / Contact detail view / Activities / List View: Activities

Contacts
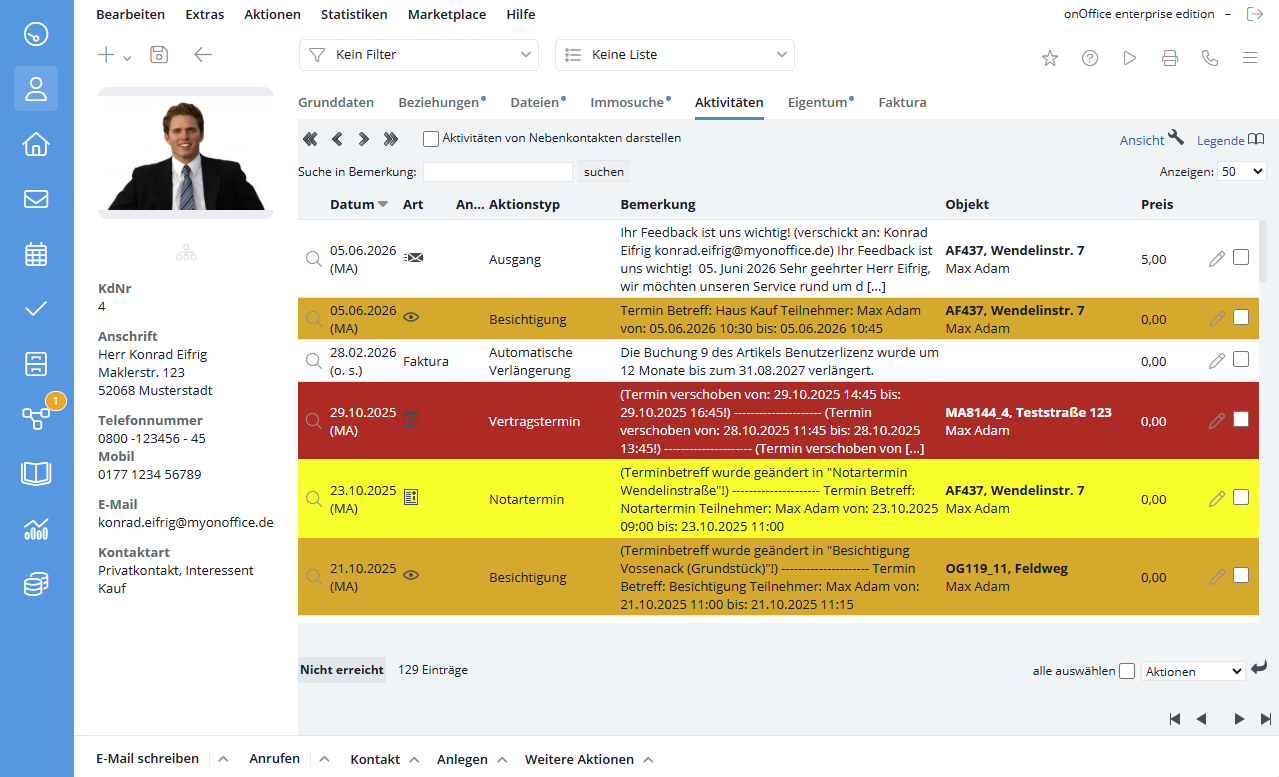
List View: Activities
Customize the view
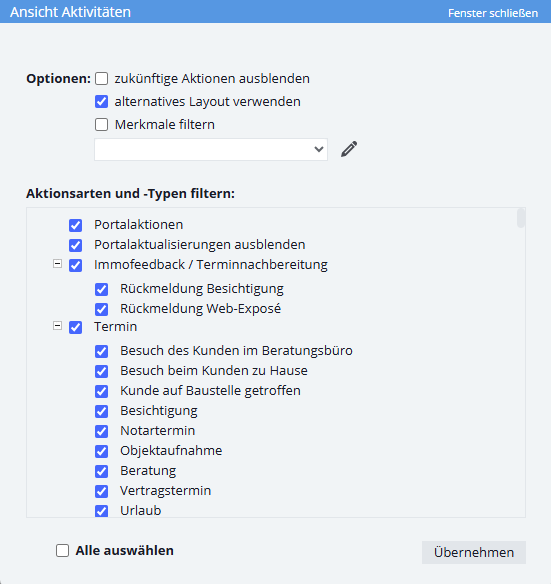
You can open the view settings pop-up by clicking the wrench icon  in the upper-left corner. Here, you have the option to hide future events or choose an alternative layout for the activities.
In addition, you can filter the displayed entries by specific promotion types and promotion categories. You can further narrow these down by using “Filter by Attributes.”
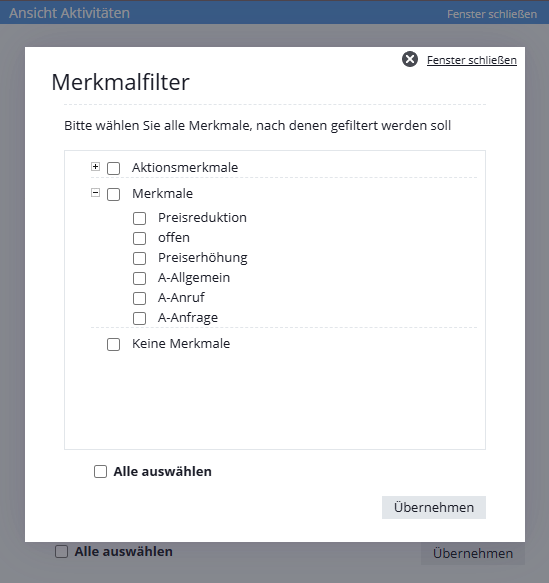
In this selection list, you can select individual attributes, which will then be displayed in the results list. Via “No Characteristics” you can display all the entries that have no characteristic and no activity feature.
Activities of Secondary Contacts
Using the Show activities of secondary contacts checkbox, you can view all activities associated with the secondary contacts for the selected contact.
Call legend
Using the legend function  , you can view a summary of the entries, just as you would in the property agent’s log. Here, the activity entries are listed in an external pop-up window, organized by category. It is possible to assign costs for the individual entries. These costs can be defined for certain kinds of action in the administration, or they can be recorded directly for the individual entries.
Browse Activities
Use the arrows in the upper-left corner above the list of activity entries to scroll through the activities associated with the contact record. The double arrows on the left and right take you to the beginning and end of the activity list, respectively, while the single arrow scrolls one page forward or backward, respectively.
Quick view
To quickly access the associated emails, appointments, tasks, or Word attachments, click the individual icons in the Typecolumn. You’ll see detailed information about the selected activity. For example, you can use the various email icons to view sent or received emails, or open the tasks associated with each activity.
Record rights in the activity list
You can also assign rights for individual groups and users of your onOffice enterprise edition. To do this, use the ‘Record permissions’ action from the Actions bar of the list of agent’s log entries under Other actions >> Record permissions. Here you can set who is allowed to read, write and delete entries of the respective agent’s log. Only users with the appropriate permission can view all activity. If this right is missing, only the action type and category are displayed.