You are here: Home / Tutorials / Step by step / General instructions / Absence note

Step by step
Absence note
Notice:
The out-of-office notification must always be set up with the provider where the e-mailbox is located. The option described here can therefore only be set up for mailboxes that are located at onOffice.
You are about to go on a long business trip or your well-deserved vacation and cannot respond to your customers’ inquiries during this time, so you can create an out-of-office note with onOffice. This is sent directly to the customers, in case of a request by e-mail.
There are two ways to create an absence note.
- User-specific creation of an absence note
- Central possibility of absence note creation by administrators
Inhaltsverzeichnis
User-specific creation of an absence note
To create an absence note as a user go to Tools >> Settings >> Users. There you select your user and go to the “Email” tab. Here you can create your specific absence note under “Absence note”.
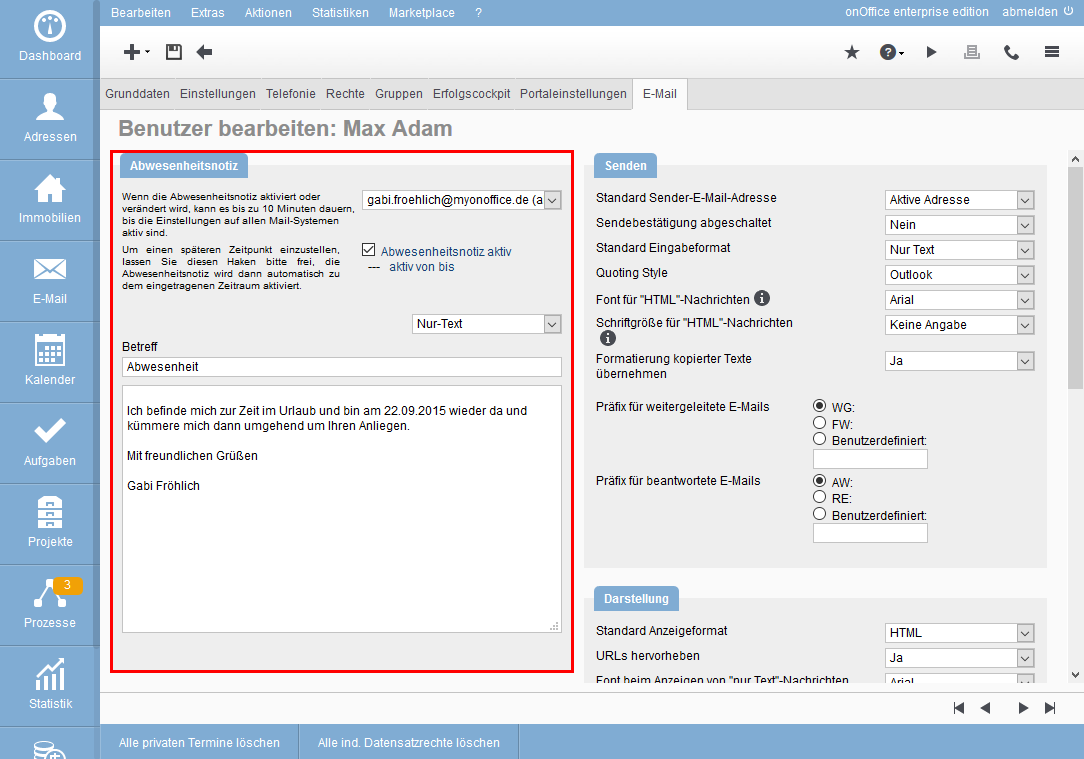
If you manage more than one mailbox, you must create an absence note for each one individually. So use the dropdown menu to select the first email address, write an out-of-office note and save it. After that, select the second mail address and repeat the process.
Once here, you can enter your absence text under “Edit absence note”.
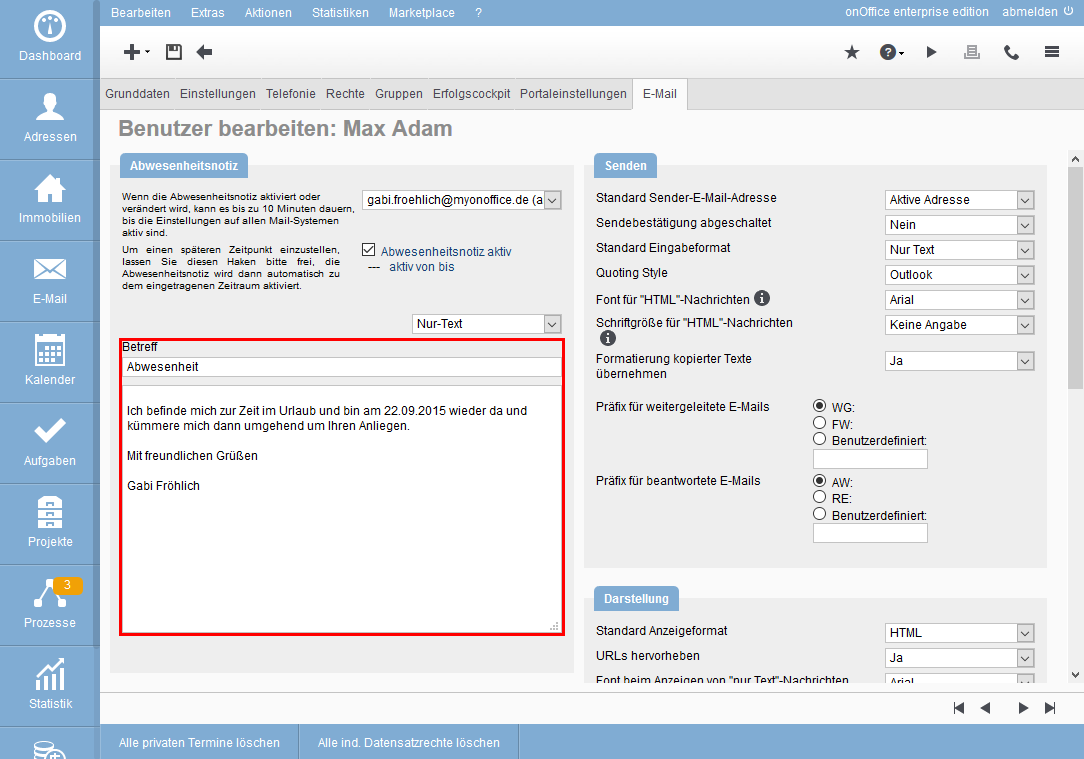
- Subject: enter the subject with which the automatic email will be generated.
- Message: deposit your special message why you are absent.
The text can be deposited in text and HTML. Use the selector above the subject field for this.
ATTENTION: Please do not use macros in your out of office note as they will not work in an out of office note.
Once you have created your out of office note, you can now activate it. You can do this by checking the “Absence note active” checkbox. Under this checkbox you have the possibility to define a period when and for how long the absence note is active.
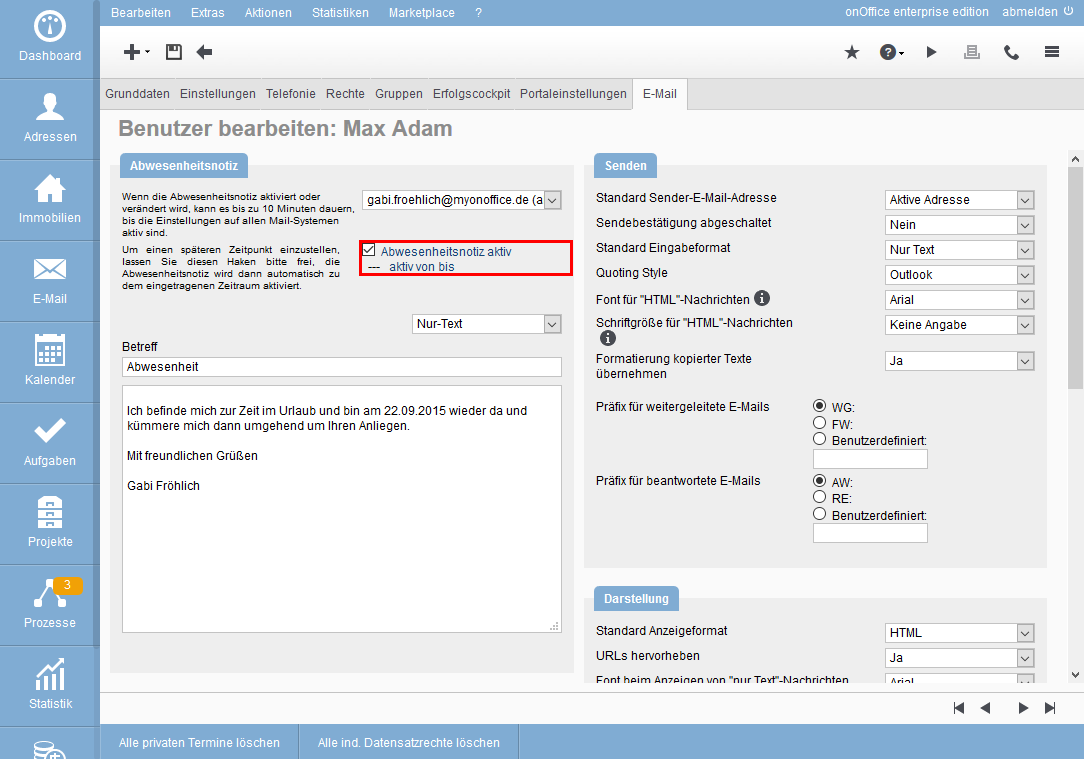
ATTENTION: If no period is set for the absence note, it will remain active until it is deactivated. This means that you will have to manually deactivate the out of office note when you start working again.
Central possibility of absence note creation by administrators
To centrally set up an out-of-office notification for an e-mail box, you need administrative rights. This administrative function is intended for the case that one of your employees is suddenly unavoidably absent due to illness.
First open the e-mail administration under: Tools >> Settings >> Basic settings and switch to the tab E-mail.
Now select the mailbox for which the out-of-office notification is to be set up and open the details for the mailbox by clicking on the corresponding e-mail address.
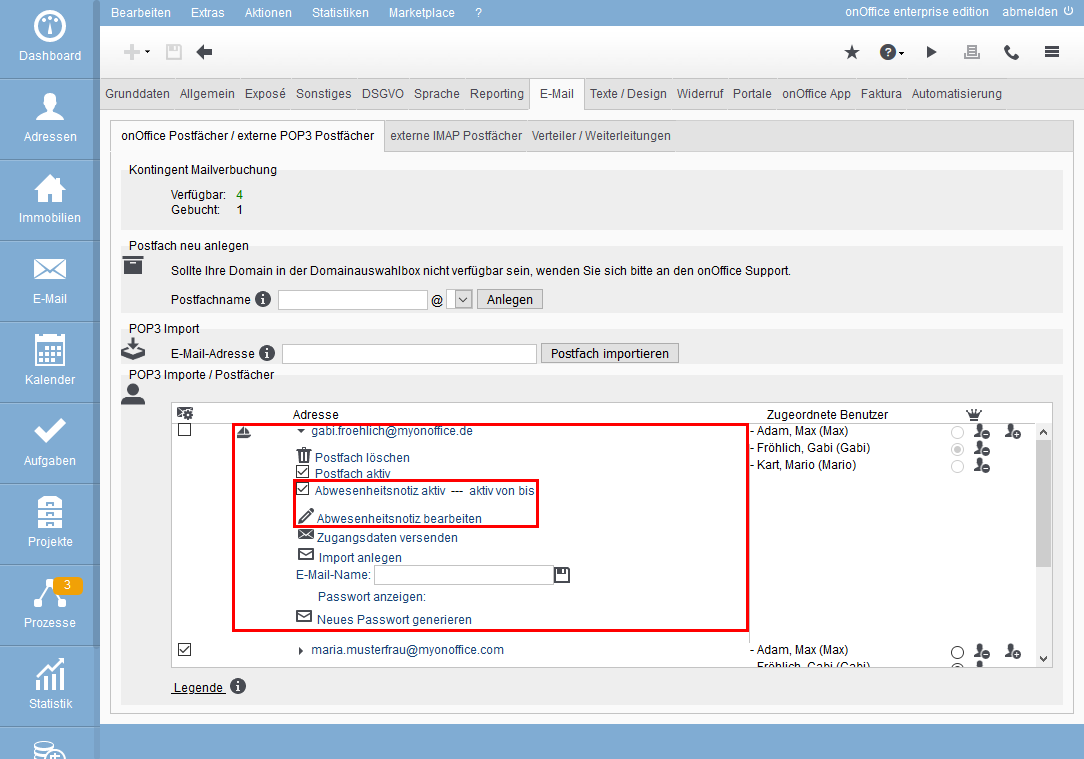
Here you can activate or deactivate the absence note. Clicking on “Edit out-of-office message” opens a lightbox where you can store the subject and message in text or HTML – exactly as in step 2 format.
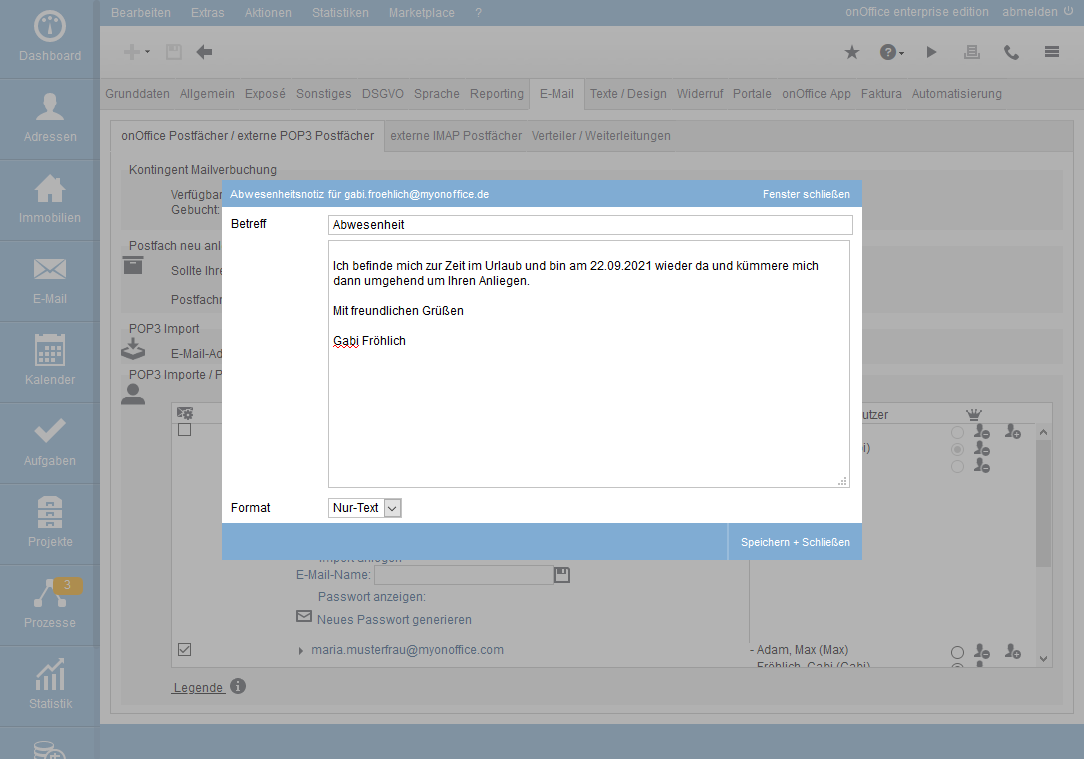
Then click on “Save” to store the text.
The received mails will now be answered with this out-of-office note, but will remain in the inbox for the user to view.
- Administrative instructions
- General instructions
- Status and extended status
- Create email signature
- Create Word templates
- Marketplace - Create user account
- Address data record maintenance
- Dictionary
- Absence note
- property search
- Send serial email
- Store files on server
- Create work lists
- Edit work lists
- Assign contact person
- onOffice-MLS
- Watermark
- Set values configure at revocation

 Introduction
 Dashboard
 Addresses
 Properties
 Email
Email Calender
 Tasks
Tasks Acquisition Cockpit
 Audit-proof mail archiving
 Automatic brochure distribution
 Billing
 Groups
 Intranet
 Marketing box
 Multi Property module
 Multilingual Module
 onOffice sync
 Presentation PDFs
 Process manager
 Project management
 Property value analyses
 Request manager
 Showcase TV
 Smart site 2.0
 Statistic Tab
 Statistics toolbox
 Success cockpit
 Time recording
 Address from clipboard
 Boilerplates
 Customer communication
 External Tools
 Favorite links
 Formulas and calculating
 Mass update
 onOffice-MLS
 Portals
 Property import
 Quick Access
 Settings
 Templates
 Step by step

