You are here: Home / Tutorials / Step by step / General instructions / Watermark

Step by step
Watermark
There are 2 different types of watermarks in onOffice enterprise:
-
- Watermark(Text)
- Watermark(Imageuploader)
You can set them under Basic Settings >> General >> Category: Watermark
The watermark for brochure and portal images is explained here.
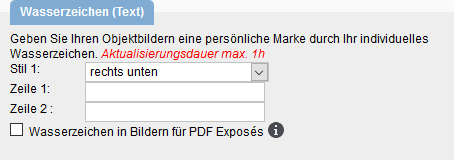
You can enter an individual text in the 2 lines. The watermark is inserted with a maximum delay of one hour in all new brochures created afterwards and in all portal transmissions in the images. The text watermark is not displayed in the files, it is only generated during brochure creation and portal transfer. To check the watermark, you must create an brochure.
- Style:
Here you can define the positioning of the text. Default is “bottom right” - Line 1:
The first line of your watermark - Line 2:
The second line of your watermark - PDF brochures
Setting whether the watermark is displayed on all brochure images.
Example
Enter your individual text for your property images in lines 1 and 2, tick “Watermark in Images for PDF brochures” and save these settings.
By ticking “Watermarks in Images for PDF brochures”, your individual text will now be displayed in all images when an brochure is output
In the second section of the watermark you can add your company logo or another graphic symbol to your property images. This is configured in the basic settings >> General >> Category: Watermark(Imageuploader) .
The graphic watermark can only be integrated if you upload the images via “upload multiple files” . Images that have already been uploaded cannot be watermarked afterwards.
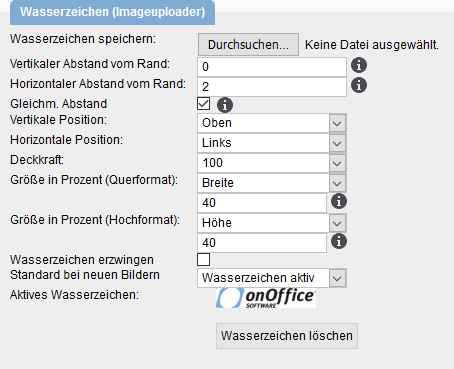
- Save watermark:
Here you can upload the desired image as JPEG or PNG to the system. If you upload a wrong file type you can save it but a red text will be displayed above all categories. - Distance from edge:
Here you can define - the distance of the watermark from the edge of the image Position:
Via the position you define where the watermark should appear in the images (e.g. “top right”) - Opacity:
Here you define the transparency of the watermark in the images - Landscape / Portrait:
Maximum percentage width/height to the original image in landscape or portrait - format Force watermark:
By checking this box, the watermark is set for all images uploaded via the image uploader.
Example
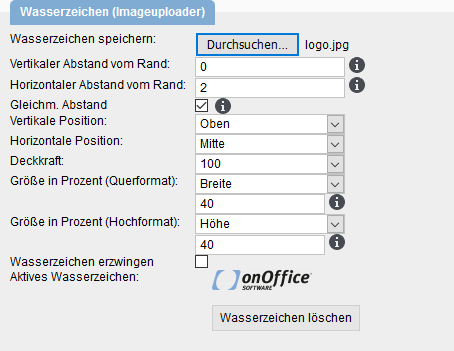
In the first step, deposit a logo which you want to use for your watermark. If you leave all preset parameters as they are output by the software, your logo will appear in the middle of your images. The example logo should be at the top left.
After saving, your “active watermark” will be displayed as in the picture above.
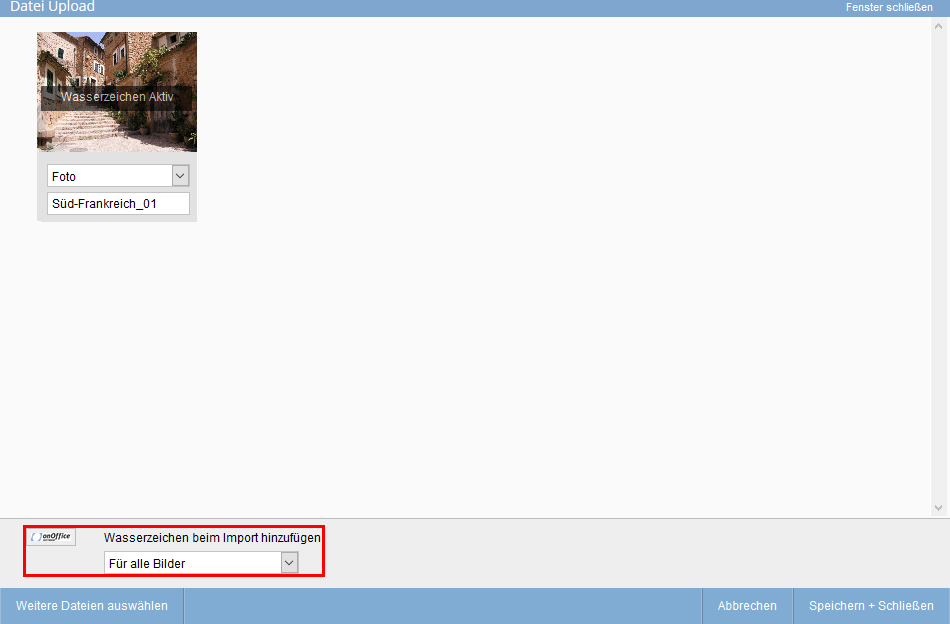
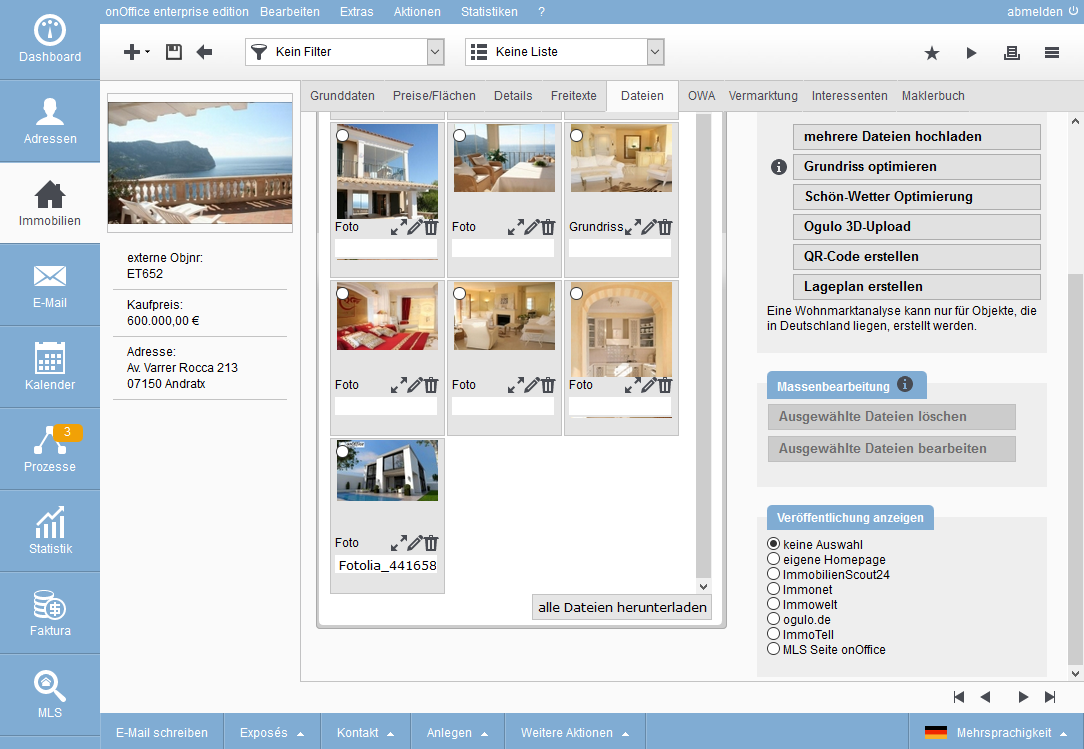
If you now add images to a property via “upload several files”, the “Image Uploader” is started. Here you have to check the box “Show watermark” to integrate the watermark into the images.
As you can already guess in the next picture, the logo has been added to the top left of the last picture.
By clicking on Full ![]() Screen you can see that the logo is located in the upper left corner.
Screen you can see that the logo is located in the upper left corner.
Tips on sizes
Suppose you have specified in Basic Settings >> General >> Category: Image Format that your images will be uploaded with a width of 1000px. And with the watermark settings you have set 40% of the maximum width or height by default, then we recommend to create and upload your logo with a width of 400px.
When uploading larger images, it is recommended that you adjust your logo accordingly. This prevents longer computing times when uploading your images.
If you want to upload images in different sizes, it is advisable to use a large logo, because resizing does not lead to pixel errors

 Entry
Entry Dashboard
 Contacts
 Properties
 Email
Email Calendar
 Tasks
Tasks Acquisition Cockpit
 Audit-proof mail archiving
 Automatic brochure dispatch
 Billing
 Groups
 Intranet
 Marketing Box
 Multi Property module
 Multilingual Module
 onOffice sync
 Presentation PDFs
 Process manager
 Project Management
 Property value analyses
 Enquiry Manager
 Showcase TV
 Smart site 2.0
 Statistic Tab
 Statistics toolbox
 Success Cockpit
 Time Tracking
 Address from clipboard
 Text block
 Customer communication
 External Tools
 Favorite links
 Calculating with formulas
 Mass update
 onOffice-MLS
 Portals
 Property import
 Quick Access
 Settings
 Templates
 Step by step