You are here: Home / Additional modules / Marketplace / Provider overview / onOffice Services - Zapier - Data exchange and automation
Marketplace
onOffice Services – Zapier – Data exchange and automation
Inhaltsverzeichnis
- Zapier-Consulting with Santino Giese:
- Description
- Activation
- Connect Zapier with enterprise:
- Utilization:
- Zapier info about the onOffice beta app:
- Create Zap:
- Foreword Trigger events
- Trigger events:
- Trigger Zap manually
- Information on limited usability due to the possibilities of the Zapier API
- Zap history:
- Zapier Formatter Tools:
- User selection in onOffice Actions:
- Further help
Zapier-Consulting with Santino Giese:
Do you need support with Zapier? Our consulting partner Santino Giese will be happy to help youwith more complex automation and processes. Send an email with your request to hallo@santino-giese.com or arrange a coaching appointment on his website.
Description
Zapier as a central data gateway. Data can be exchanged with hundreds of other cloud-based applications via Zapier, which also provide a connection to Zapier. Complex cross-application processes can be created and utilized without programming knowledge.
Application example: Is your customer filling out a form in another cloud service? Let Zapier automatically create an address and a task in onOffice enterprise.
Activation
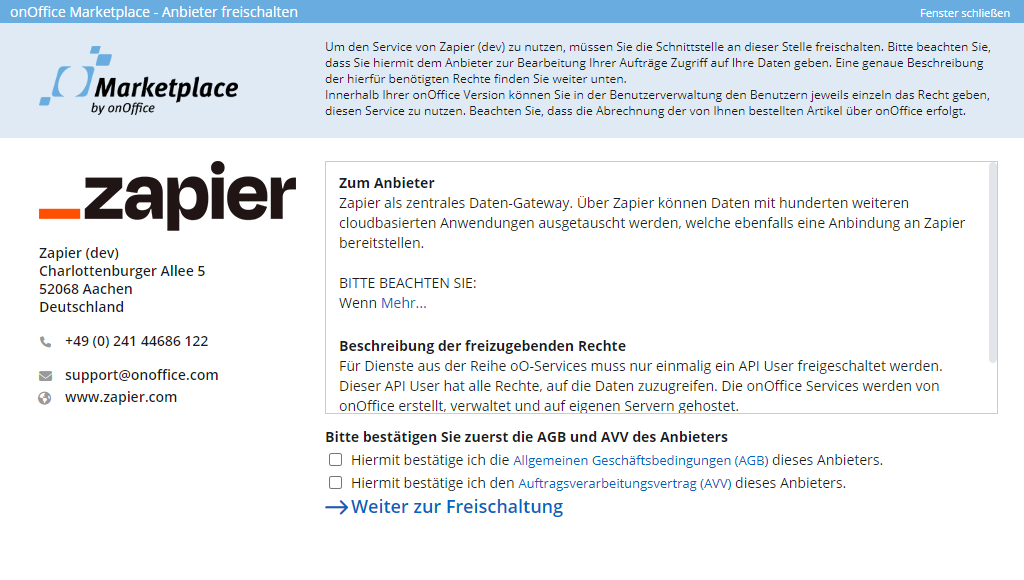
Activate Zapier via “Marketplace >> Overview >> Zapier >> “Activate now” in your Marketplace account.
Connect Zapier with enterprise:
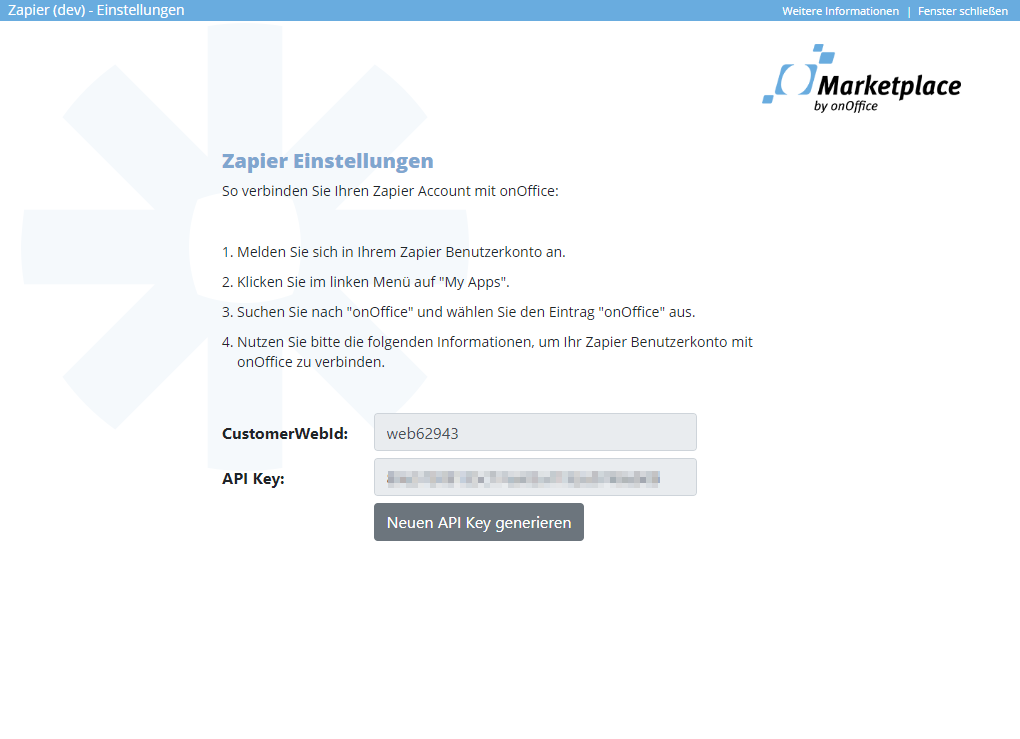
If Zapier is activated in the Marketplace, the service can be configured via “Zapier >> Settings” in the Marketplace menu. The popup shows you the “CustomerWebId” and the “API Key” that you need to connect Zapier with onOffice enterprise.
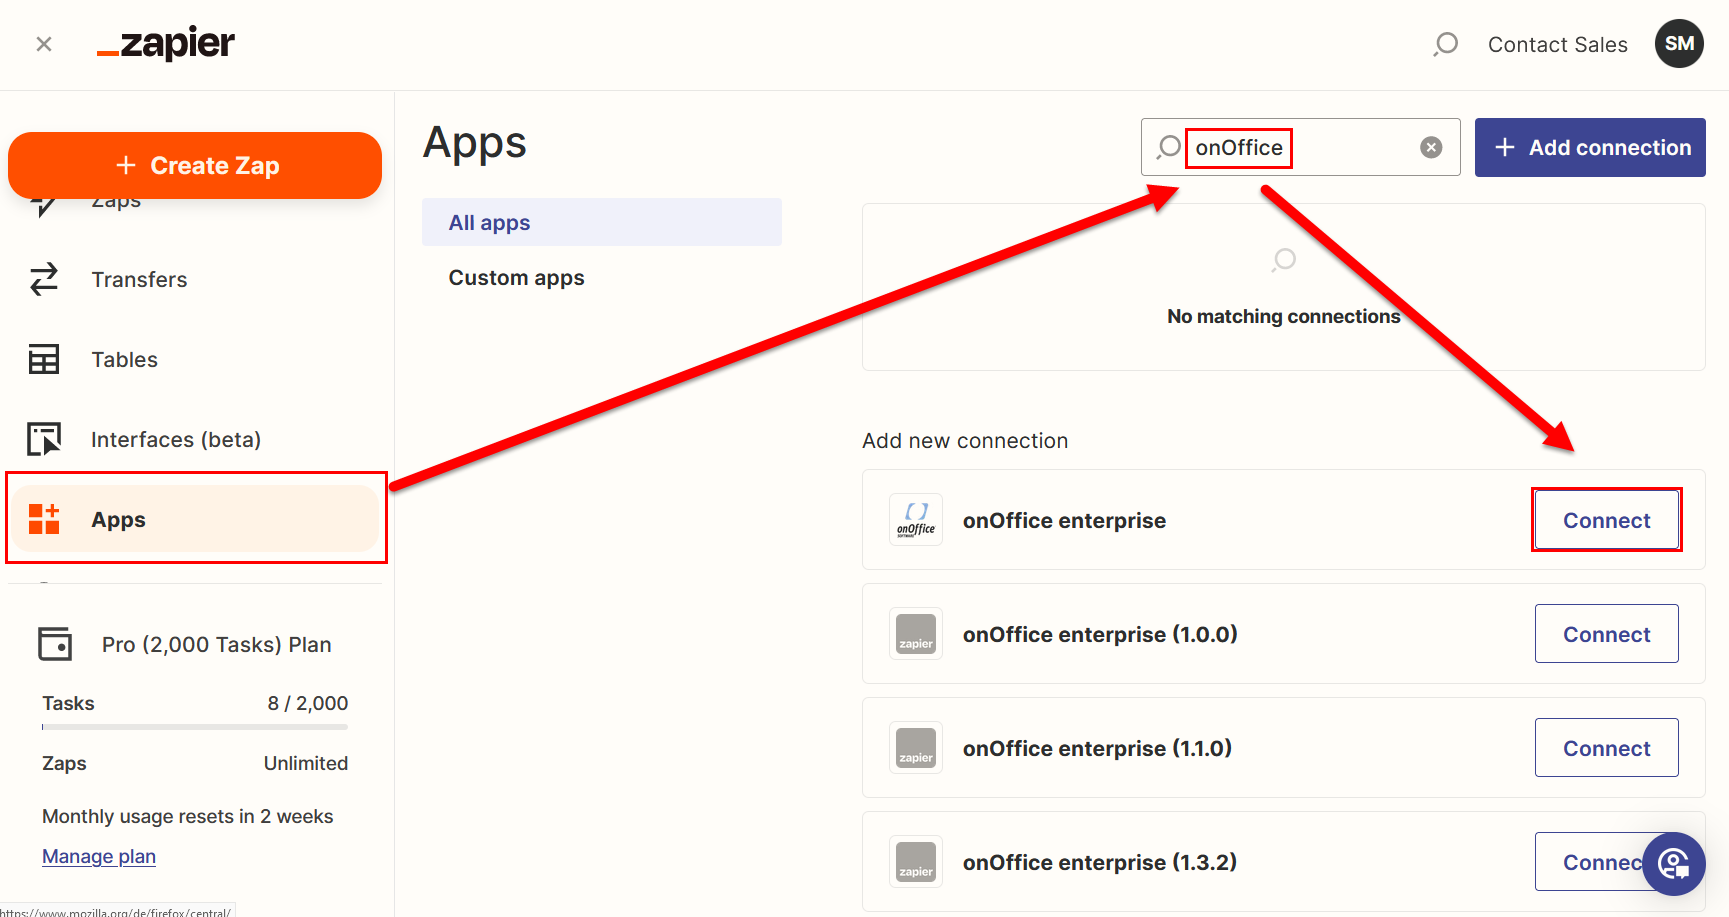
Then select “Apps” in the left-hand menu in Zapier, search for “onOffice” and select the onOffice app via “Connect”.
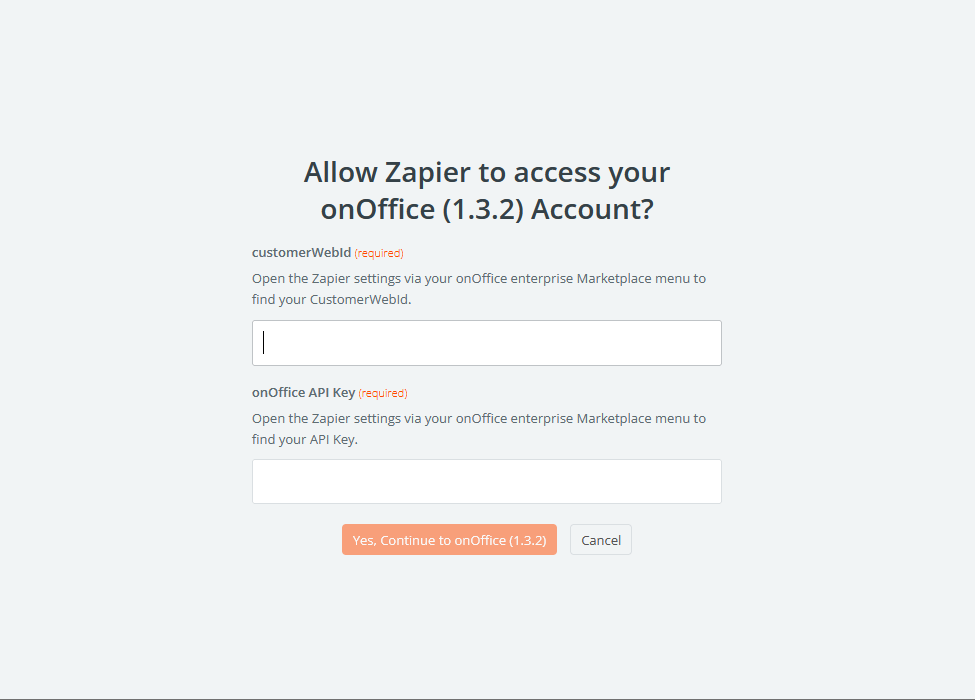
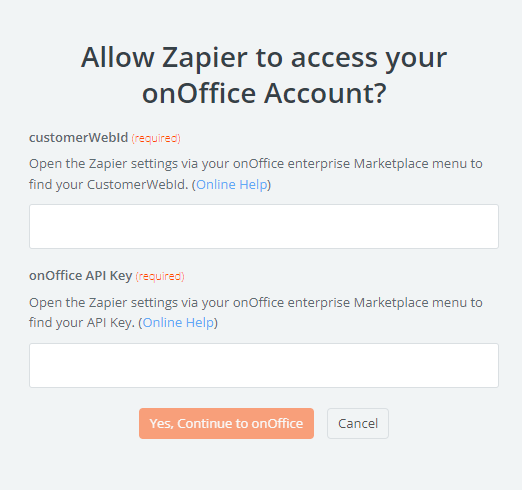
Then enter the “CustomerWebId” and the “API Key” from onOffice enterprise to establish the connection.
The service can then be used and Zaps can be created.
Utilization:
A general knowledge of Zapier is assumed; only the first steps are explained here.
Support restrictions:
The onOffice support does not offer any support for the operation of Zapier. Please only contact our support if you have problems with the activation or if server error codes are displayed in onOffice triggers or actions in the Zap creation. In all other cases, Zapier support should be contacted first.
You can also use the Zapier help pages .
Zapier info about the onOffice beta app:
onOffice Zapier Integration.
Create Zap:
Create a new Zap.
Action events
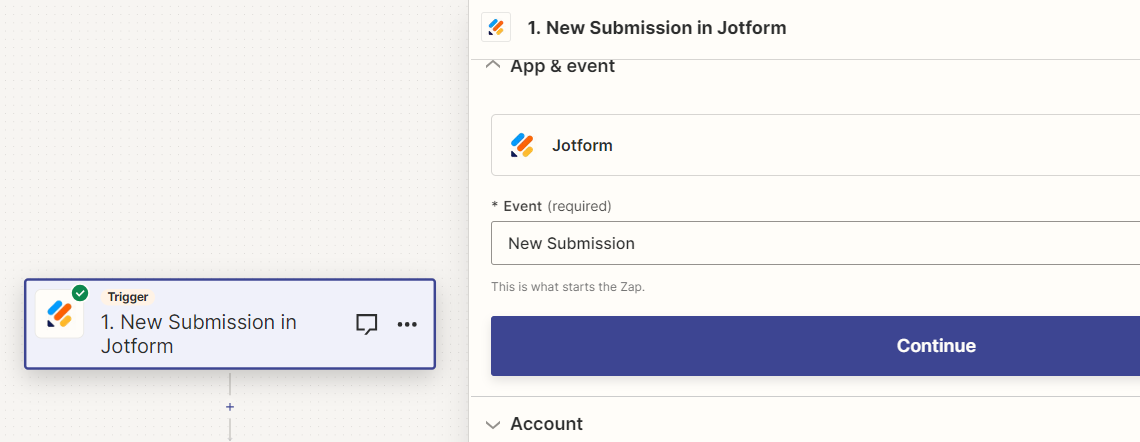
If you want to execute actions in onOffice, first create a trigger from another software that is to initiate the action.
Select an event and check which data is read out.
Then click on the action module and select “onOffice enterprise”.
Select an event.
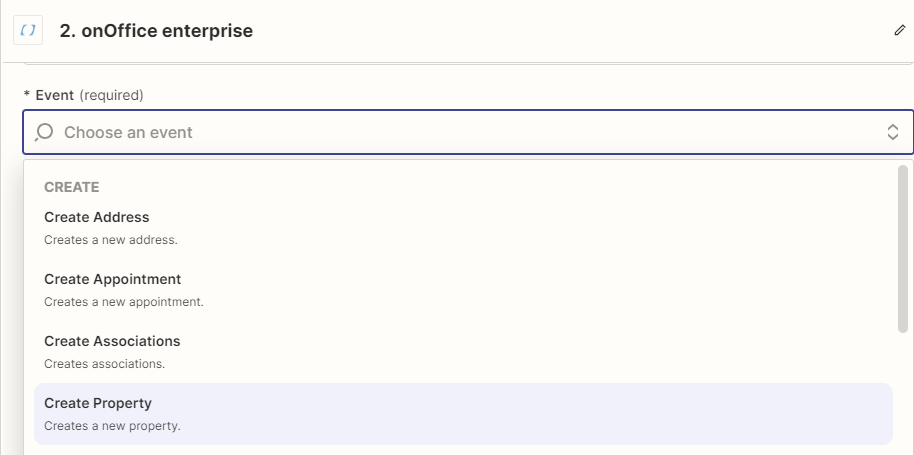
If you have not yet connected Zapier and onOffice as described above under “Connect Zapier with enterprise”, you can still do this during the creation of a zap. If the connection already exists, simply select the existing connection. Click on “Connect onOffice” under “Account” in Zapier.

The required data can be found in the Zapier settings in onOffice (onOfficemenu: Marketplace >> Zapier >> Settings). Copy the CustomerWebId and the API token into the Zapier popup.
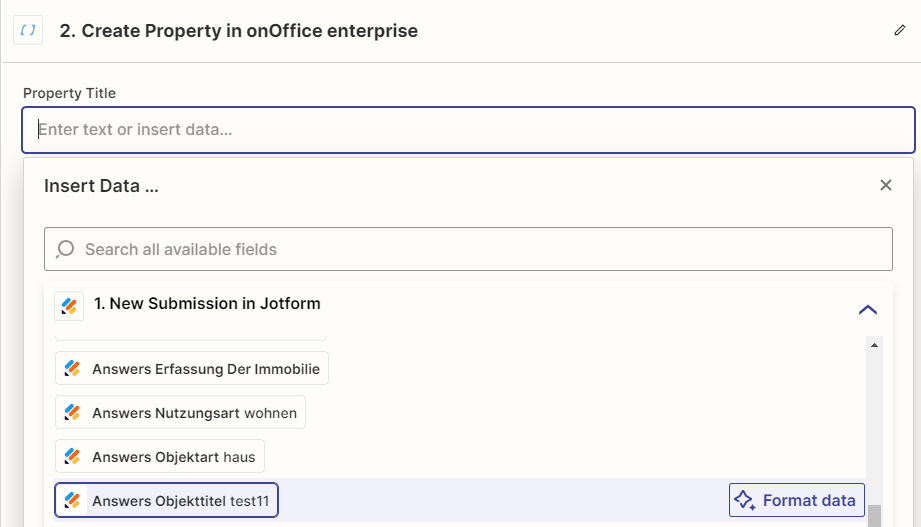
Configure the action in the next step by selecting for the target fields from which fields of the source software values are to be read.
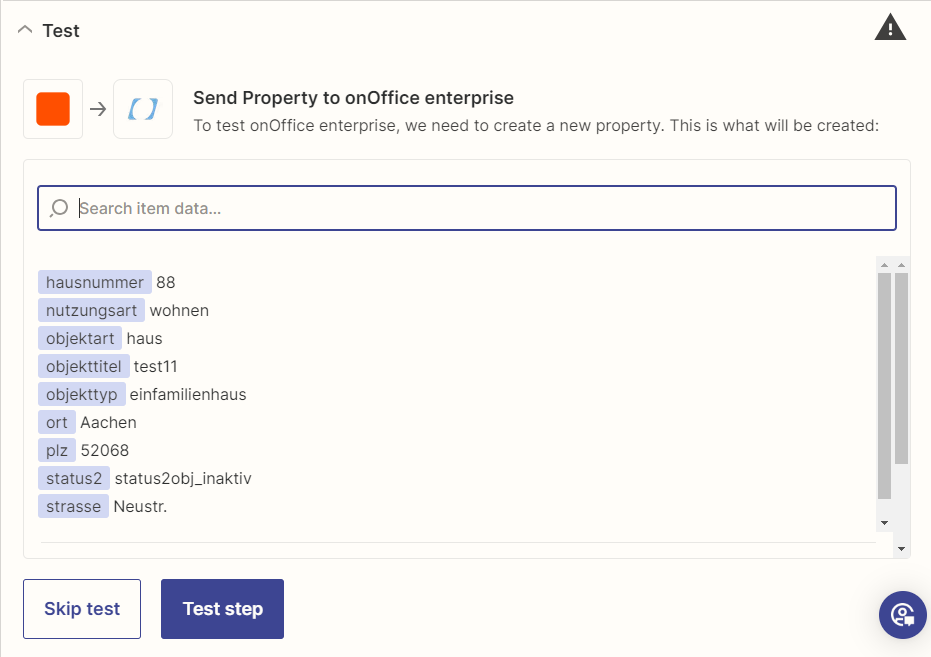
After a successful test, the Zap is activated via the “Publish” button.
Foreword Trigger events
In principle, the onOffice-Zapier triggers are initially designed to be triggered only when the user considers the data maintenance of a property / address to be complete.
For this reason, either a manual start by the user or a (partially) automated start by using the onOffice process manager is provided.
Trigger events:
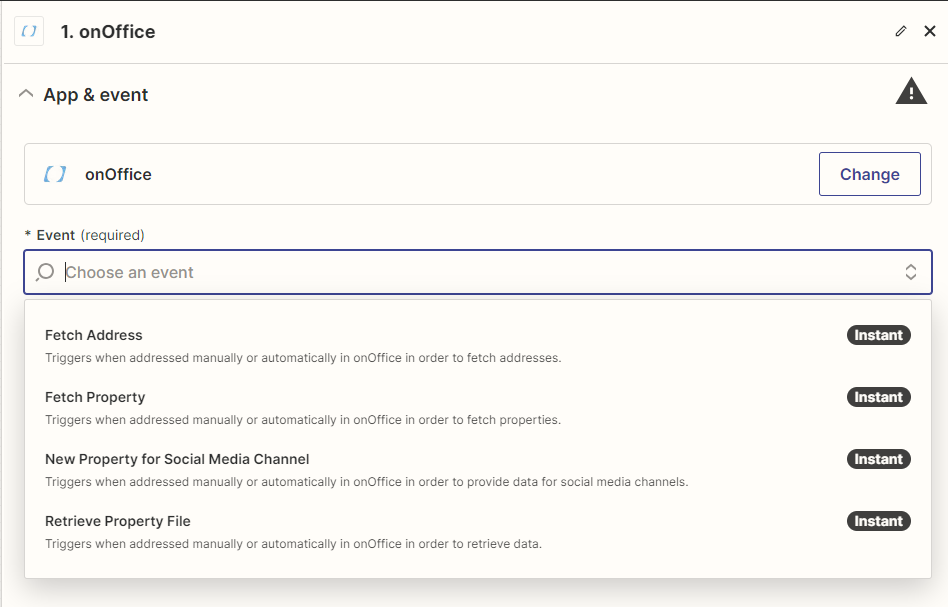
Click on the trigger module if you want to read data from onOffice and transfer it to another software.
Search for the “onOffice” Zapier app here too.
For example, select “Fetch Address” as the trigger event. You can use this trigger to read out all address data. Other triggers are “Fetch Property”, “News Property for Social Media Channel”, “Retrieve Property File”.
Select which data of a property/address should be read out from onOffice.
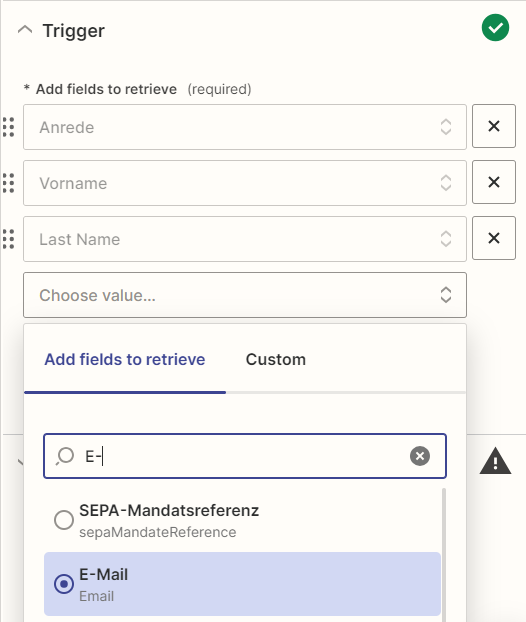
Then create the action and create the complete Zap.
You can find more information in the Zapier help https://zapier.com/help.
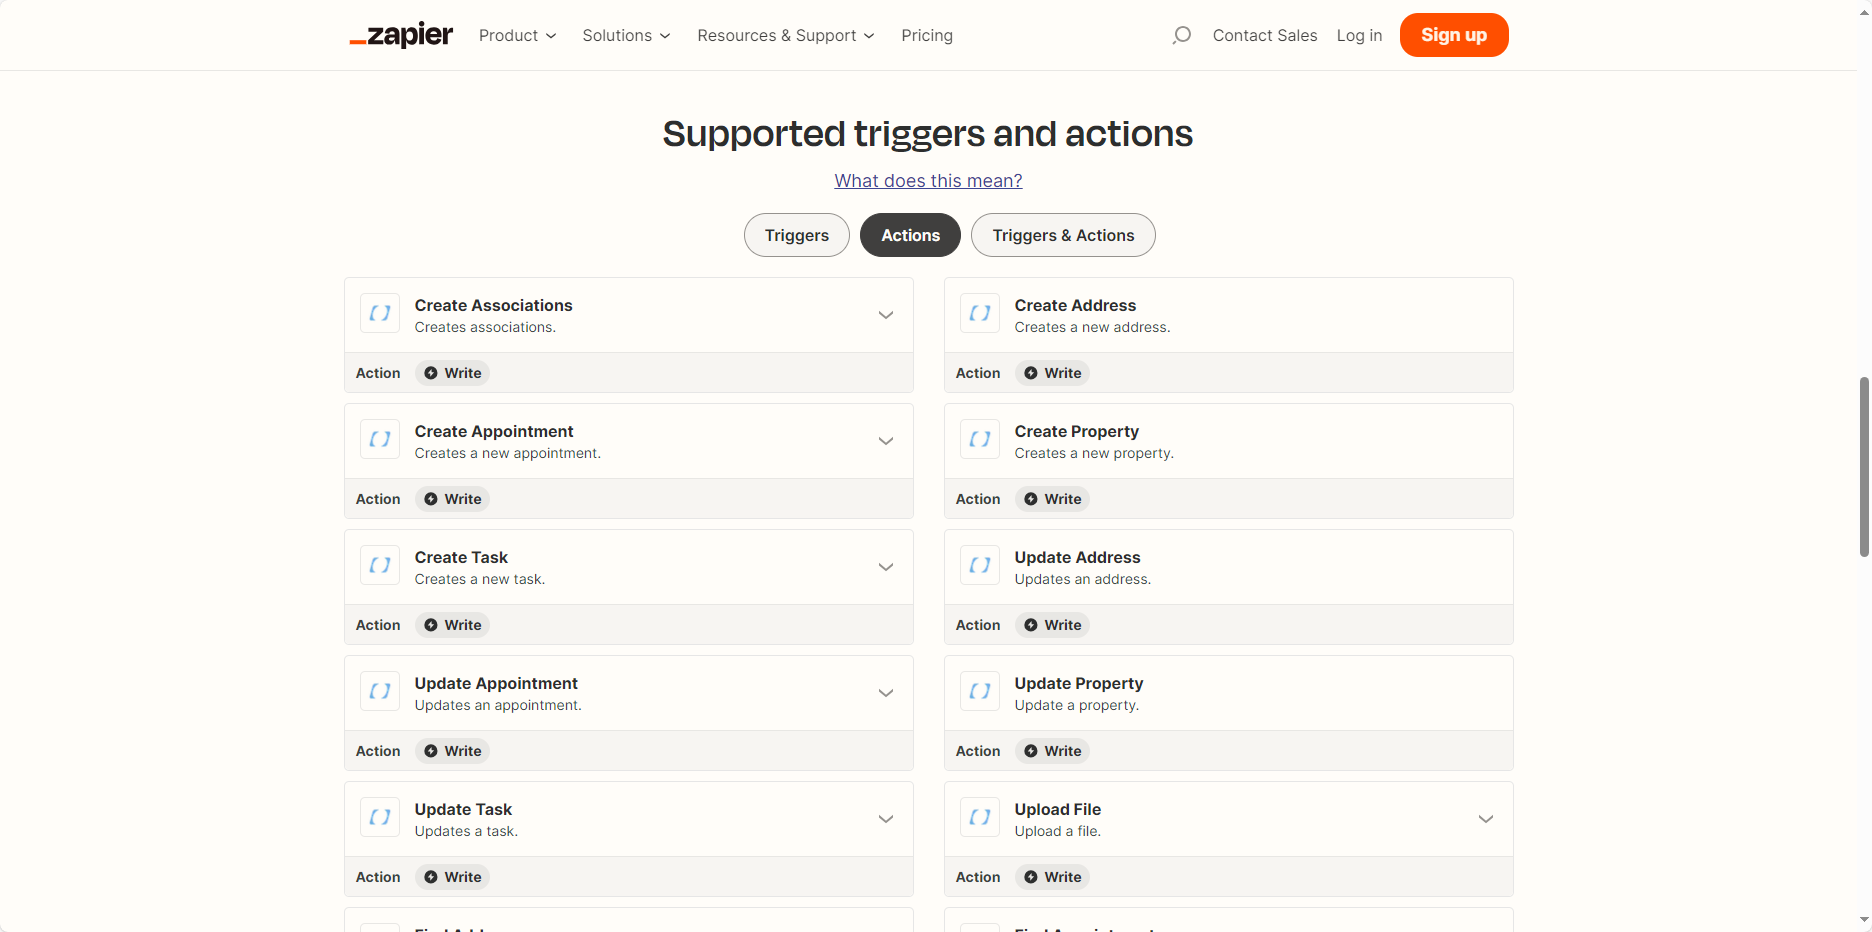
The following actions are available:
Create Activity / Agents Log Entry, Create Address, Create Appointment, Create Associations like Tenant/Buyer etc., Create Property, Create Task, Update Address, Update Appointment, Update Property, Update Task, Upload File, Find Address, Find Appointment, Find Property, Find Associations, Find Task.
Trigger Zap manually
Transfer data to your other tools after complete data maintenance.
Example: Transferring an address
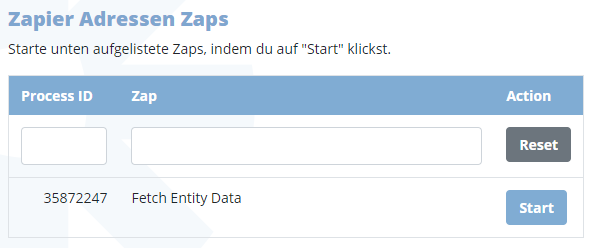
If you have selected onOffice or a “Fetch Address” event in the trigger in Zapier, then open an address in onOffice. Click on “Marketplace” >> Zapier >> Start Zaps” in the action bar.
Information on limited usability due to the possibilities of the Zapier API
Unfortunately, the Zapier API no longer offers the option of reading or receiving the names of the Zaps.
Technical explanation: When a snap is activated, a URL for starting a snap is transmitted to our server. However, no zap ID or zap designation is transmitted.
As a result, it is not possible to identify the zap when querying all zap data.
Unfortunately, the process ID shown only refers to the call of a zap and does not correspond to the zap ID.
Unfortunately, a new process ID is generated each time a zap is deactivated and reactivated.
For this reason, the name of a zap in the pop-up must be changed manually (administrator rights required). The assignment is only possible if you activate Zaps individually and immediately rename the Zap that appears in the pop-up.
To do this, click on the Edit button in the “Zap” column.
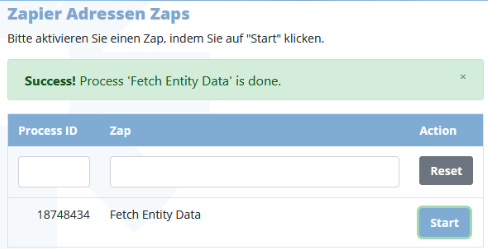
Select a Zap and click on “Start”.
 The Zap was successfully launched.
Trigger Zap automatically via process manager:
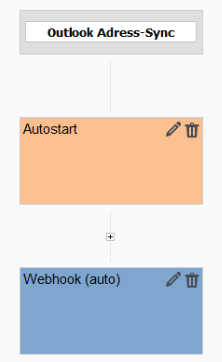
Use the “Autostart” module in the process manager and select a value from a single-select field as the trigger, for example. Then create a “Webhook” module.
In the “Webhook” module, select the “Address Zaps (Process Manager)” service.
You can find the “process_id” in the manual call of the Zaps (Marketplace action bar >> Zapier >> Start Zaps). After activating the process, the autostart triggers the configured Zap.
Attention: Zapier always assigns a new process ID for a Zap as soon as a Zap is deactivated and reactivated. Ideally, you should only configure the onOffice process when the Zap works 100% and meets your requirements.
Zap history:
In general, everything is tested when zaps are created before the zap can be activated. In Zapier, you can also check whether your Zap is running correctly during operation.
To do this, switch to the Zap History. Open the corresponding Zap under “Zap runs”.
Here you can see exactly in which step there may be problems.
Zapier Formatter Tools:
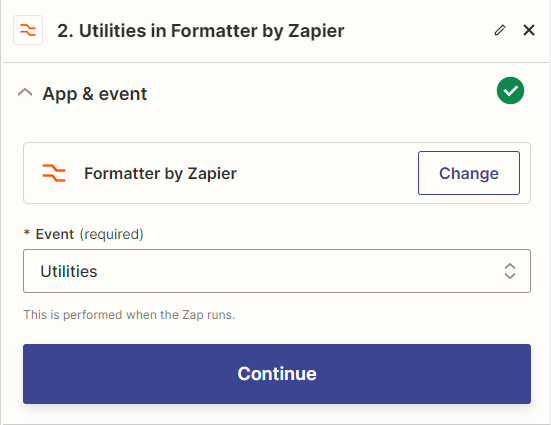
In some cases it is necessary to use the Zapier formatting tools (Zapier Formatter). For example, create a lookup table to assign task types from Outlook to task types from onOffice.
Select the corresponding field as the “Lookup Key”, in this case “Categories”. (Outlook). Enter the number of the task type from onOffice in the lookup table.
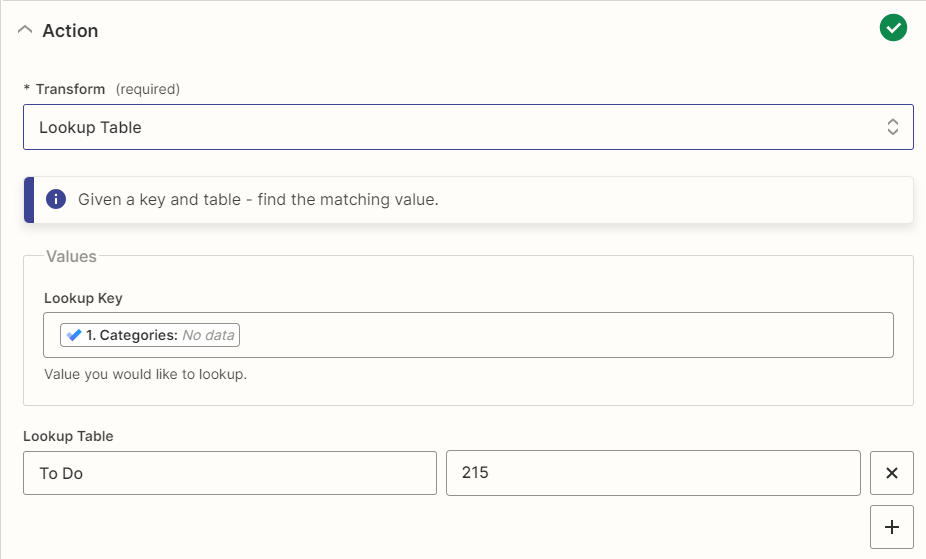
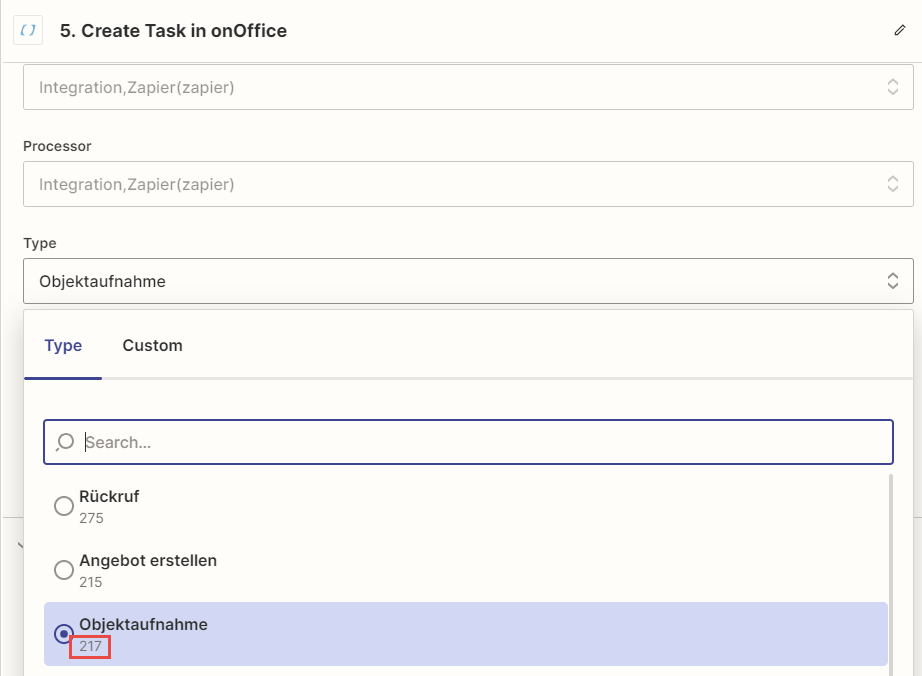
You will find the number in the next step “5. Create Task in onOffice”.
Create the “Create Task” or “Find Task” action.
Click in the “Type” field when mapping. All onOffice values including the number are displayed there; it may now also work with the key name.
User selection in onOffice Actions:
If, for example, you want to define the user within onOffice in tasks, you can enter the user name in the corresponding field of the action or simply use the email address stored in the onOffice user.
If you use the same email addresses in the source software (trigger), you do not need any lookup tables.
Further help
You can find the provider’s general Zapier help here.
Do you need support? Our consulting partner Santino Giesewill be happy to help you.
PLEASE NOTE:
If you activate this service, you only accept the onOffice order processing agreement in relation to the interface between onOffice and Zapier.
You can find out which data may be transferred and which agreements should be concluded with the provider Zapier from the provider Zapier Inc.
- Value added tax on marketplace purchases
- Assign debits via reference ID
- Provider overview
- onOffice Services - PriceHubble Valuation Service
- onpreo - Property acquisition
- Wordliner - Acquisition marketing software
- Space Renovator- Virtual Homestaging
- onOffice Services - DocuSign Connector - digital signatures
- onOffice Services - WKO Marketplace - Portal for joint business in Austria (MLS)
- onOffice Services - Zapier - Data exchange and automation
- PriceHubble Deutschland GmbH - Interactive property value analysis
- propform.io - Webforms
- PropNow - Digital quotation process
- PROPUP - Digital form & workflow management
- Residenture - Online auction platform
- Sprengnetter property Valuation
- Sprengnetter - Real estate valuation in Europe
- Total Render - Floor Plans Italy
- ViertelCheck - Information on the micro and macro situation
- finioo - Application folder
- Justhome - Real estate financing
- Backbone - Property images
- BOTTIMMO - Marketing software and digital acquisition
- ESYSYNC - Display systems
- FPRE - property analysis and valuation
- Geolyzer - infrastructure data
- immo-billie - Digital bidding process
- Immogrundriss - Floor plans & visualizations
- immowriter - AI for property texts and images
- Kerberos compliance management systems
- KIM real estate valuation
- Lead Import
- Tenant check - credit check of prospective tenants
- MYVIVENDA - Print on Demand
- Ogulo - 360° tour
- Service not usable?
- Use service
- Unlock/lock provider
- Manage account
- Create account

 Entry
Entry Dashboard
 Contacts
 Properties
 Email
Email Calendar
 Tasks
Tasks Acquisition Cockpit
 Audit-proof mail archiving
 Automatic brochure dispatch
 Billing
 Groups
 Intranet
 Marketing Box
 Multi Property module
 Multilingual Module
 onOffice sync
 Presentation PDFs
 Process manager
 Project Management
 Property value analyses
 Enquiry Manager
 Showcase TV
 Smart site 2.0
 Statistic Tab
 Statistics toolbox
 Success Cockpit
 Time Tracking
 Address from clipboard
 Text block
 Customer communication
 External Tools
 Favorite links
 Calculating with formulas
 Mass update
 onOffice-MLS
 Portals
 Property import
 Quick Access
 Settings
 Templates
 Step by step