 Entry
Entry Dashboard
 Contacts
 Properties
 Email
Email Calendar
 Tasks
Tasks Acquisition Cockpit
 Audit-proof mail archiving
 Automatic brochure dispatch
 Billing
 Groups
 Intranet
 Marketing Box
 Multi Property module
 Multilingual Module
 onOffice sync
 Presentation PDFs
 Process manager
 Project Management
 Property value analyses
 Enquiry Manager
 Showcase TV
 Smart site 2.0
 Statistic Tab
 Statistics toolbox
 Success Cockpit
 Time Tracking
 Address from clipboard
 Text block
 Customer communication
 External Tools
 Favorite links
 Calculating with formulas
 Mass update
 onOffice-MLS
 Portals
 Property import
 Quick Access
 Settings
 Templates
 Step by step
You are here: Home / Additional modules / Marketplace / Provider overview / marton.ai - AI property videos
Marketplace
marton.ai – AI property videos
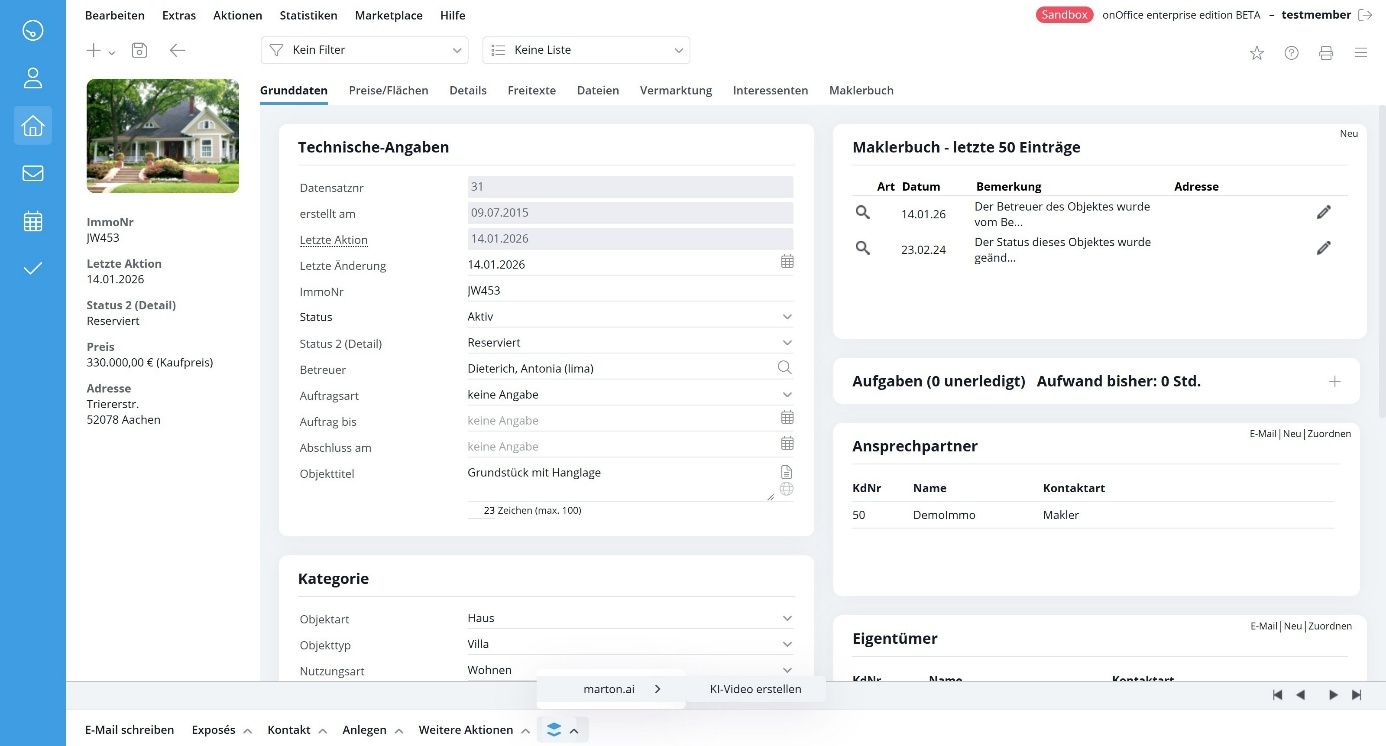
Once “marton.ai” is activated, you can create an AI property video directly on the overview page of a property. To do this, click on the stack button, then on “marton.ai” and then on “Create AI video”.
1. Select project name
The project name is automatically added from onOffice, but can be customized if required.

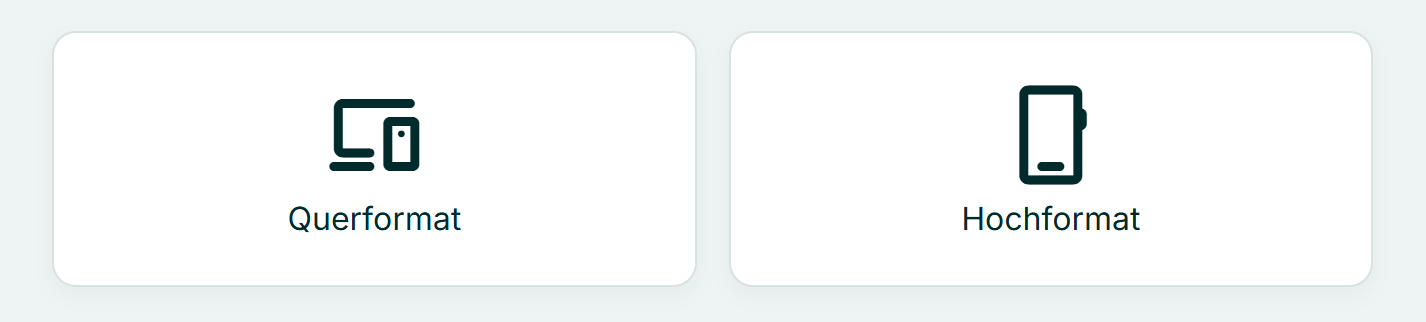
2. Select format
Select whether the video should be created in landscape or portrait format.
- Select landscape format (16:9) for property portals, your website or YouTube.
- Select High format (9:16)if the video is to be used for Instagram or TikTok.
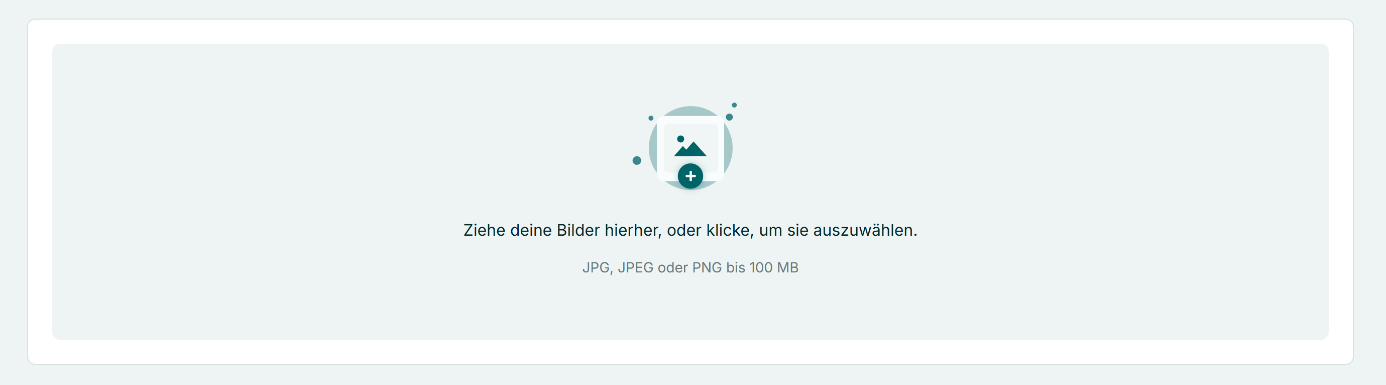
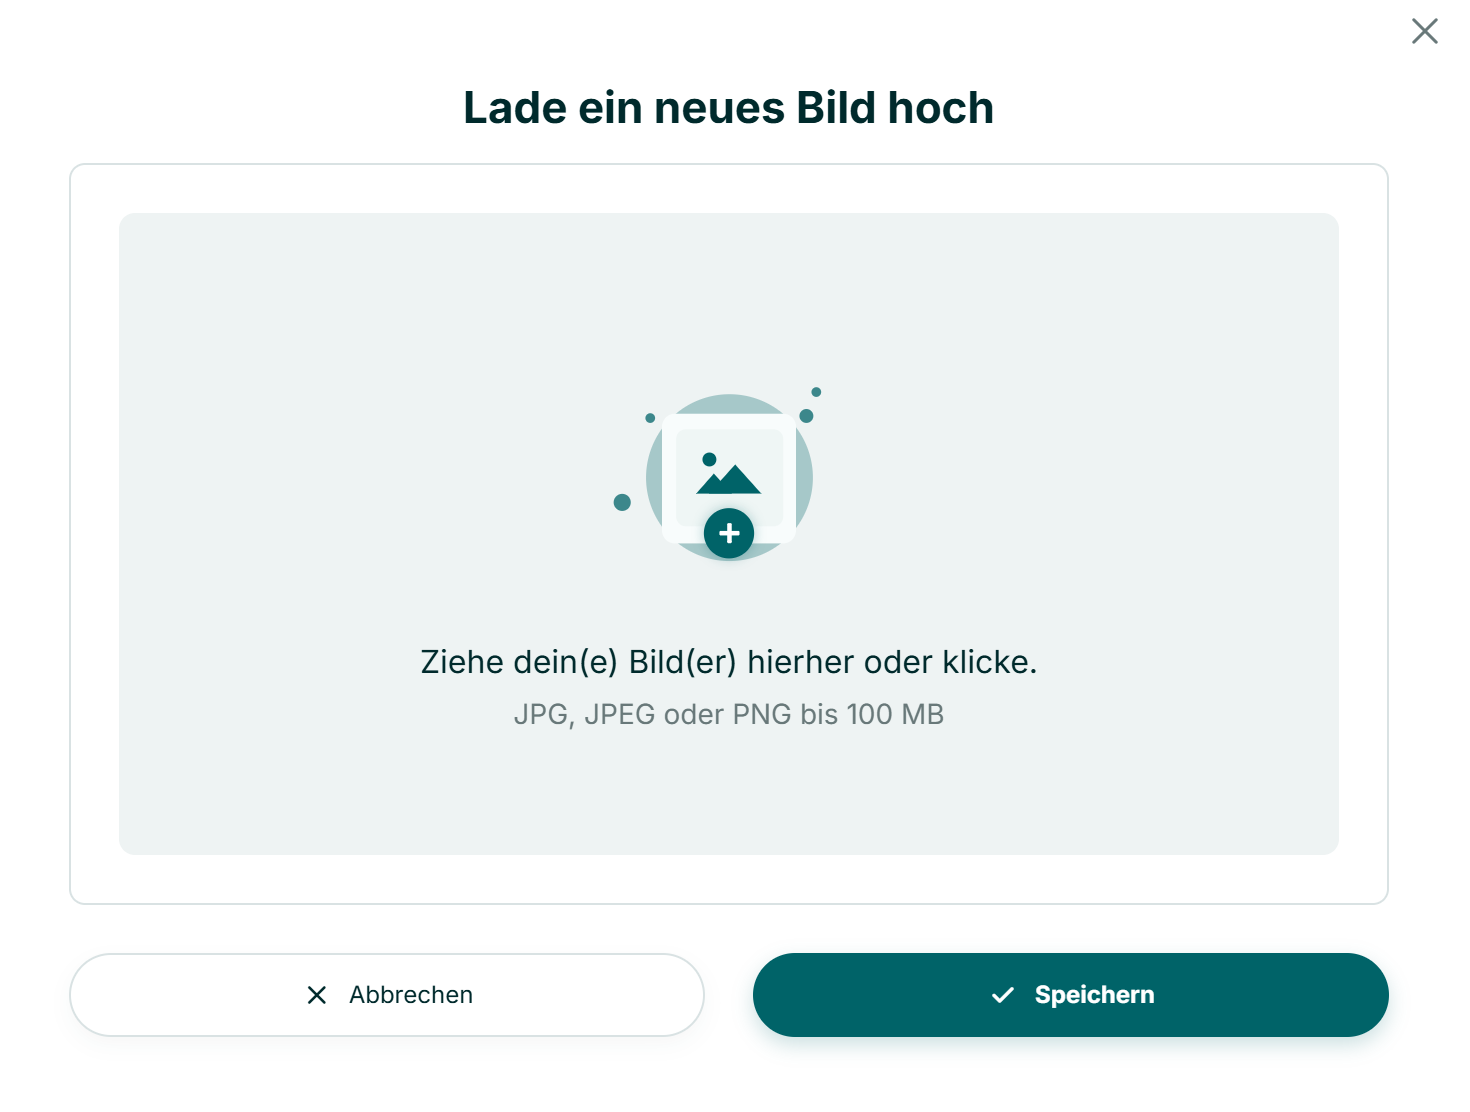
3. Add images
The images are automatically added from onOffice. Additional images can be added via drag & drop in the upload field.
★ Note: Please upload a minimum of 8 and a maximum of 15 images. If more than 15 images are added from onOffice, excess images must be removed.
4. Set image sequence
Determine the dramaturgy of the video by arranging the images:
- Manual sorting: Use the mouse to move the images into the desired order (e.g. chronological tour from outside to inside).
- Automatic sorting: A logical sorting is generated using the “Suggest order” button.
★ Note: Please then check the automatic proposal for plausibility and correct the sequence manually if necessary.
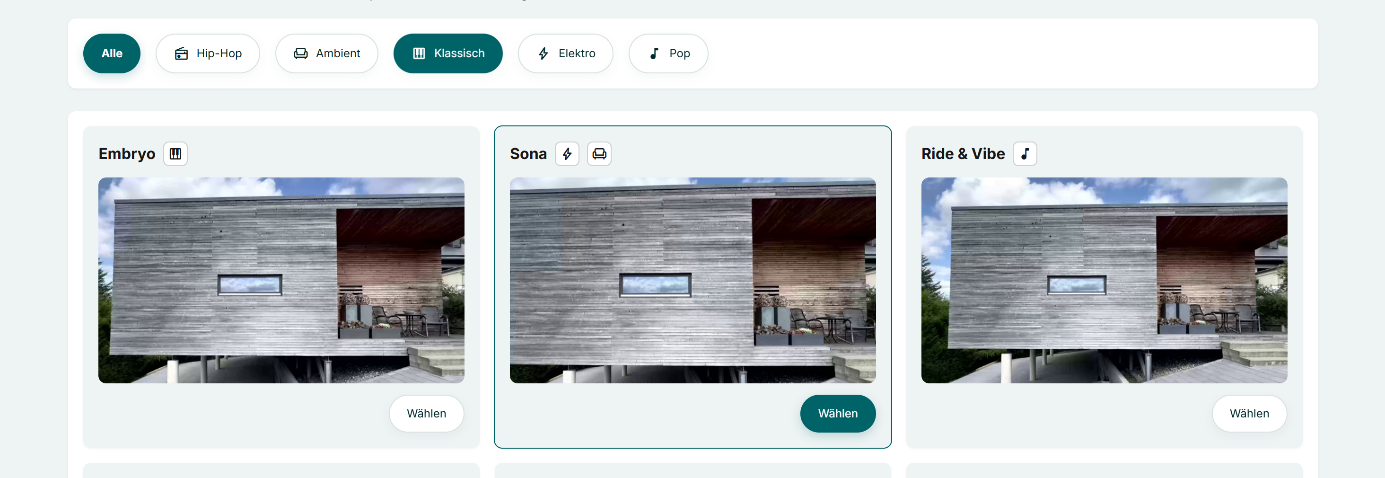
5. Select music & editing style
Select a music track. The software automatically synchronizes the image editing with the beat of the selected music. Use the play button in the preview image to check the audio and editing rhythm in advance.
Guide to choosing music:
- Ambient: Unobtrusive and relaxed. Suitable for family homes, wellness properties or natural locations.
- Hip-Hop: Urban and modern. Ideal for lofts, student flats or city apartments.
- Classic: Elegant and exclusive. Recommended for villas, historic old buildings and luxury properties.
- Electrical: Dynamic. Suitable for high-tech new builds, smart homes or penthouses.
- Pop: Friendly and suitable for the masses. A universal choice for condominiums and terraced houses.
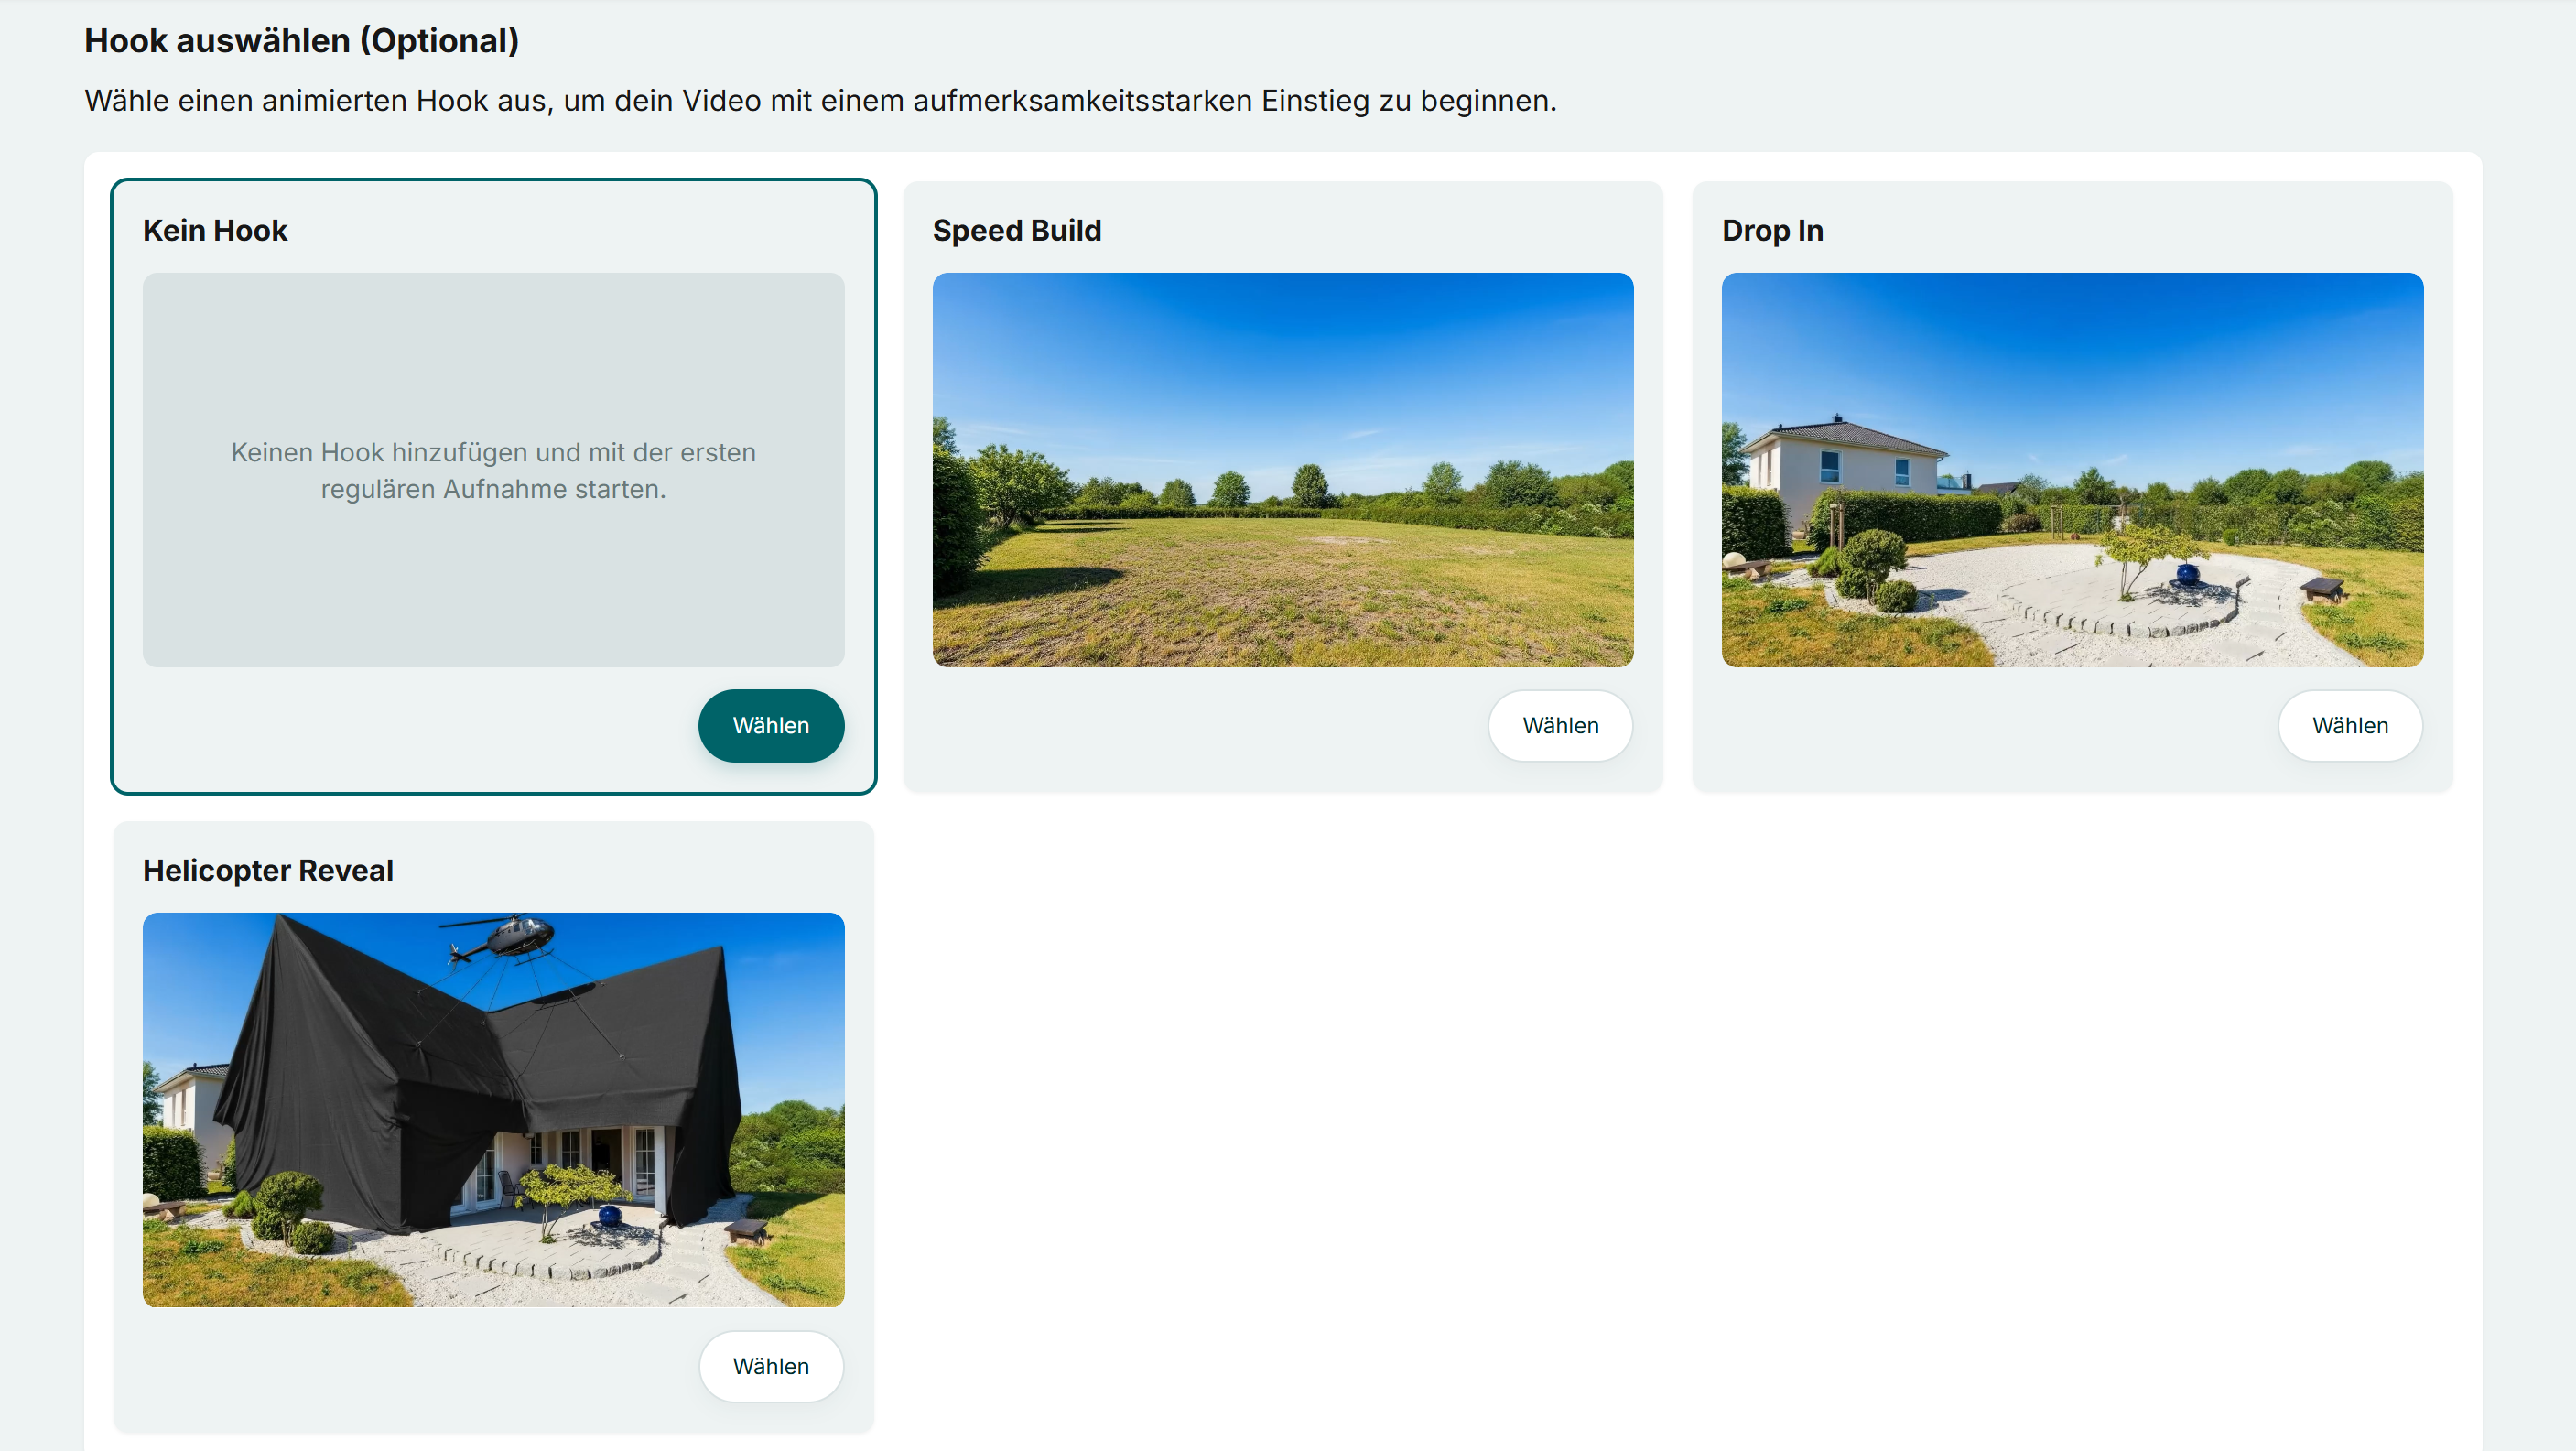
6. Add hook
Select whether a hook should be added to the video. A hook is the decisive start of a video in the first 1-3 seconds, which immediately captures the viewer’s attention and motivates them to continue watching. This makes the hook ideal for social media.
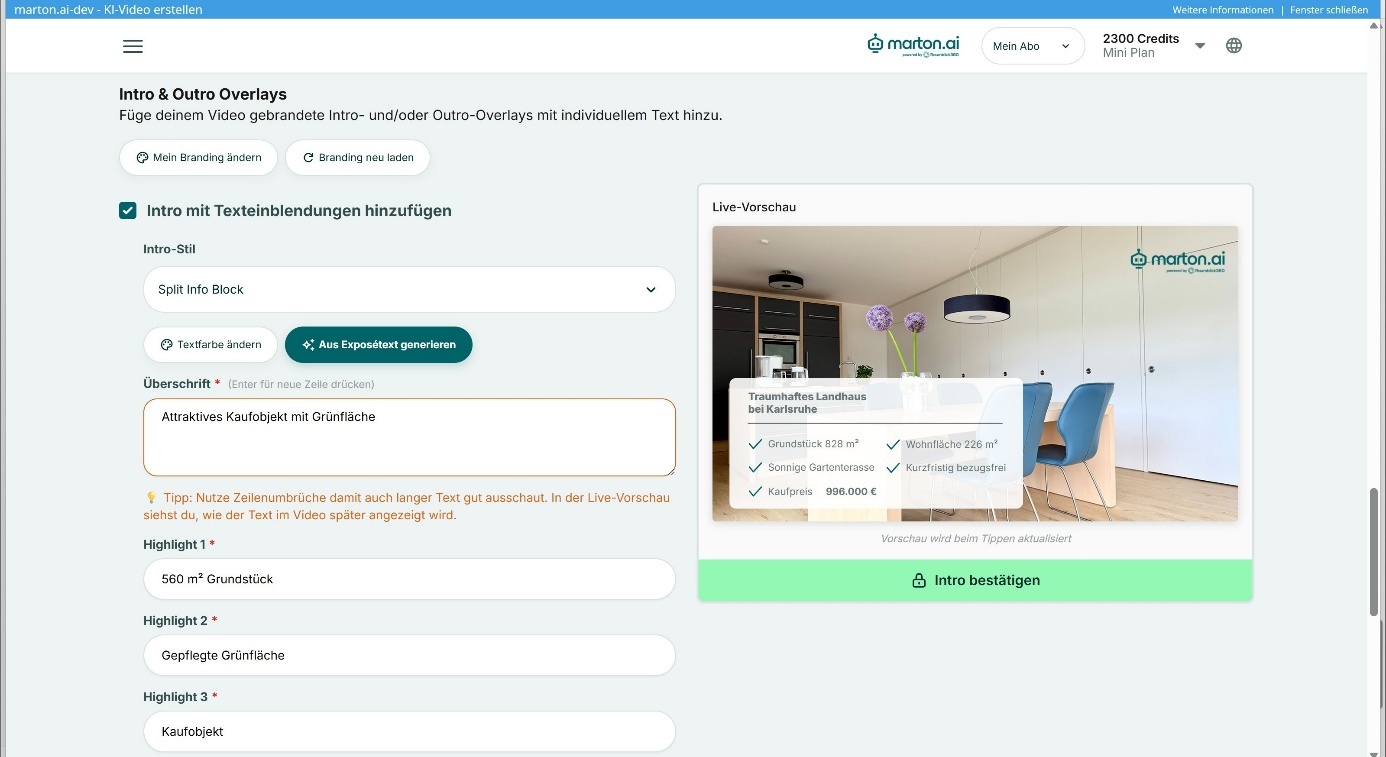
7. Video overlays & branding
In this step, you configure texts, logos and contact information.
- Check branding: Make sure that your current logo and your company colors are stored. If changes are necessary, use “Change my branding” and then click on “Reload branding” to apply the changes to the current project. More information on the Branding Manager can be found in the separate section “The Branding Manager” below.
- Intro (optional): Activate this option to add a start sequence with text (e.g. “Exclusive city villa”). The text is automatically generated from your brochure and can be adapted as required. The design automatically adapts to your branding in terms of color. You can choose from various templates.
- Outro: Configure the credits and choose from various templates. Your logo appears by default. A portrait photo and contact details can optionally be displayed to make it easier to get in touch.
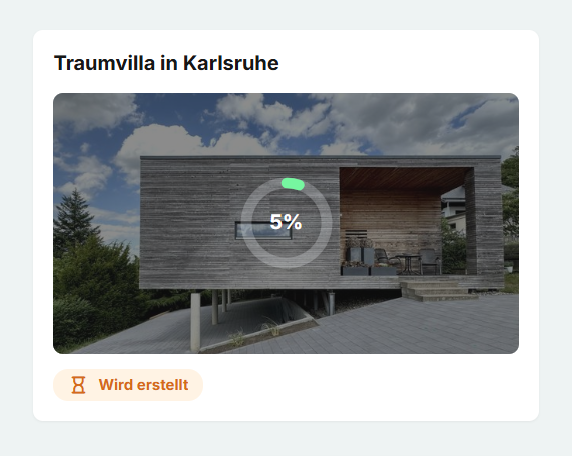
8. Start creation
Click on the “Create” button to complete the process.
Processing process: The system now analyzes the images, calculates camera movements and renders the video to match the music. This process takes approx. 10 minutes. The status in the dashboard changes from “Being created” to “Ready” after completion. You can then open the project, check the result and finalize it in the video editor.
9. The timeline: Adjust scene sequence
In the lower area, you will find the timeline with all clips.
- Sort by Change the order using drag & drop (dragging with the mouse).
- Update: The video must be recalculated each time the order is changed. To do this, click on the “Refresh” button.
- Quality note: To minimize waiting times, a preview quality (lower resolution) is displayed during editing. The final, high-resolution quality is only generated when the project is completed (“Finish”).

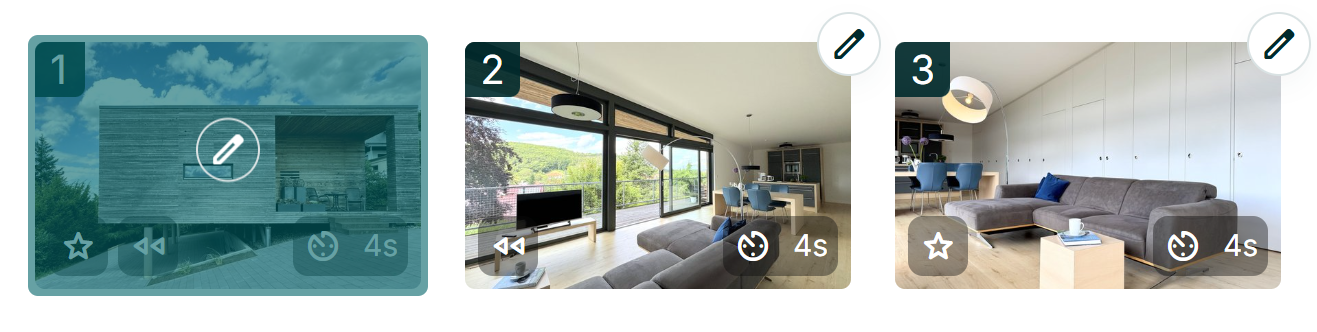
10. Meaning of the clip icons
The icons on the clips in the timeline provide information about the properties:
- ⭐️ Stern: Marks a “highlight”. This clip is displayed for longer.
- ⏱️ Timing: Shows the playback duration of the clip in seconds.
- ⏪ Pillar: Indicates the playback direction (arrow to the left means backwards movement).
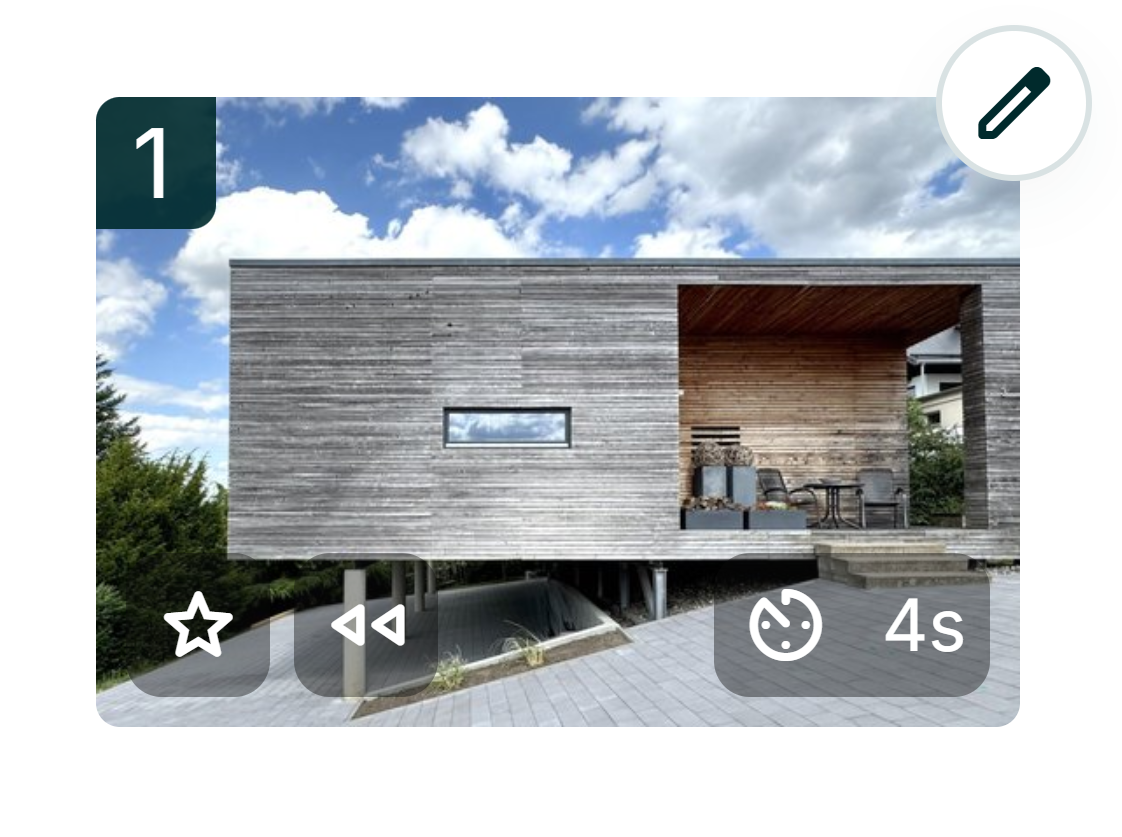
11. Detailed clip editing
Use the pencil icon on the respective clip to open the editing function.
11.1 Create new clip & select camera movement
Click on “Create new” and then specify which camera movement the new clip should have.
Select camera movement: Decide on straight ahead, pan (left/right), rotate (left/right) or crane movement (up/down) and click on “Generate new clip”.
- Recommendation: Use different movements to match the room structure for a dynamic “flow”.
★ Note: If you recreate the clip, the clip must be recalculated. Wait until the hourglass symbol disappears and the clip is highlighted in green.
Compare & select: Use the arrow buttons to compare the old and new versions. Confirm your favorite with “Select”.
11.2 Adjust direction & speed No recalculation is necessary for these changes:
- Direction of movement: Switch between forwards (into the room) and backwards (out of the room).
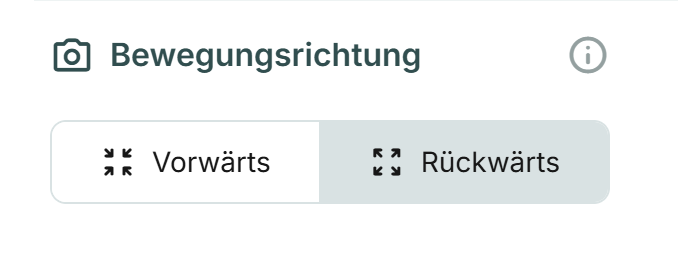
- Speed: Use the slider to adjust the tempo.
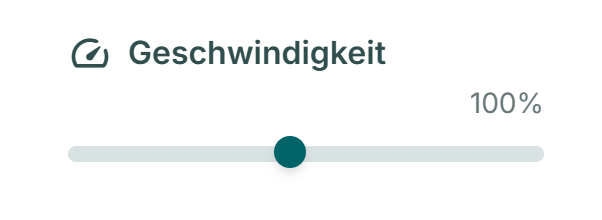
Conclusion: Confirm changes with “Select” and click “Update”
11.3 Further functionsin the main view
- Delete: Removes the clip from the timeline.

- Replace image: Replace the photo of the current clip. The clip is then regenerated.
12. Finish project
Once editing is complete, click “Finish”at the bottom left.
Final process: The system now performs “upscaling” to the highest quality and uses frame interpolation to add intermediate images for smooth movements. Attention: After this step, the video is finalized and can no longer be edited. Once the video has been completed, it can be downloaded using the download button.
The Branding Manager
In this section, you define your corporate identity (CI). The settings stored here (logo, colors, fonts) are automatically applied to all future video projects to ensure a consistent brand image.
1. Automatic branding detection
The system offers a function to automatically import your design:
- Enter your website URL in the corresponding field.
- Click on “Recognize branding”.
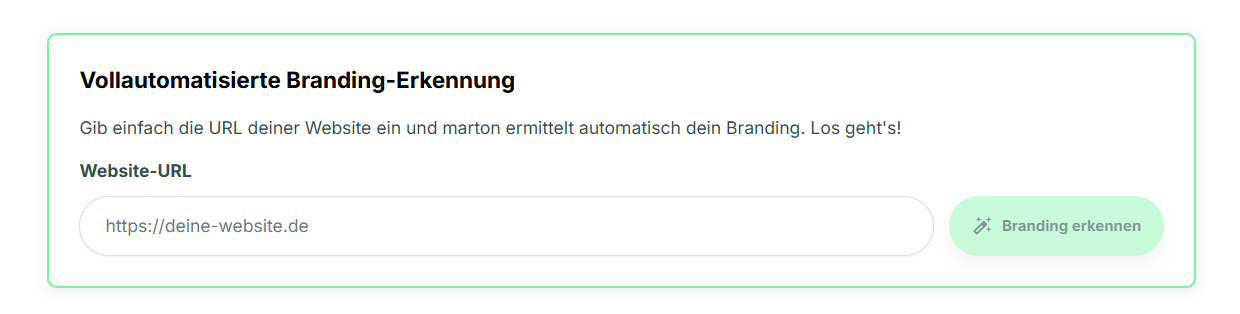
3. The system analyzes the website and suggests the logo and main colors.
4. Confirm the data via “Accept suggestions” or adjust it manually in the following steps.
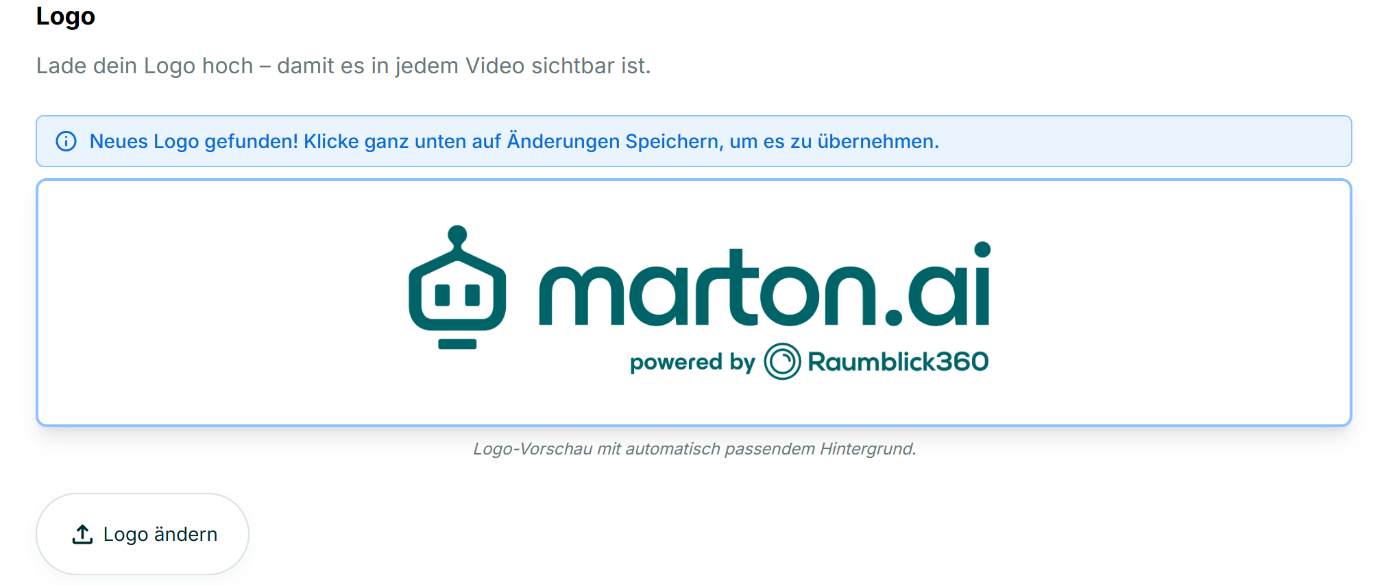
2. Save company logo
The logo is placed in the outro (credits) by default and optionally in the intro.
- Automatic: If recognition (step 1) was used, the logo is already stored.
- Manual: Use the “Change logo”function to upload your image file if the field is empty or needs to be corrected.
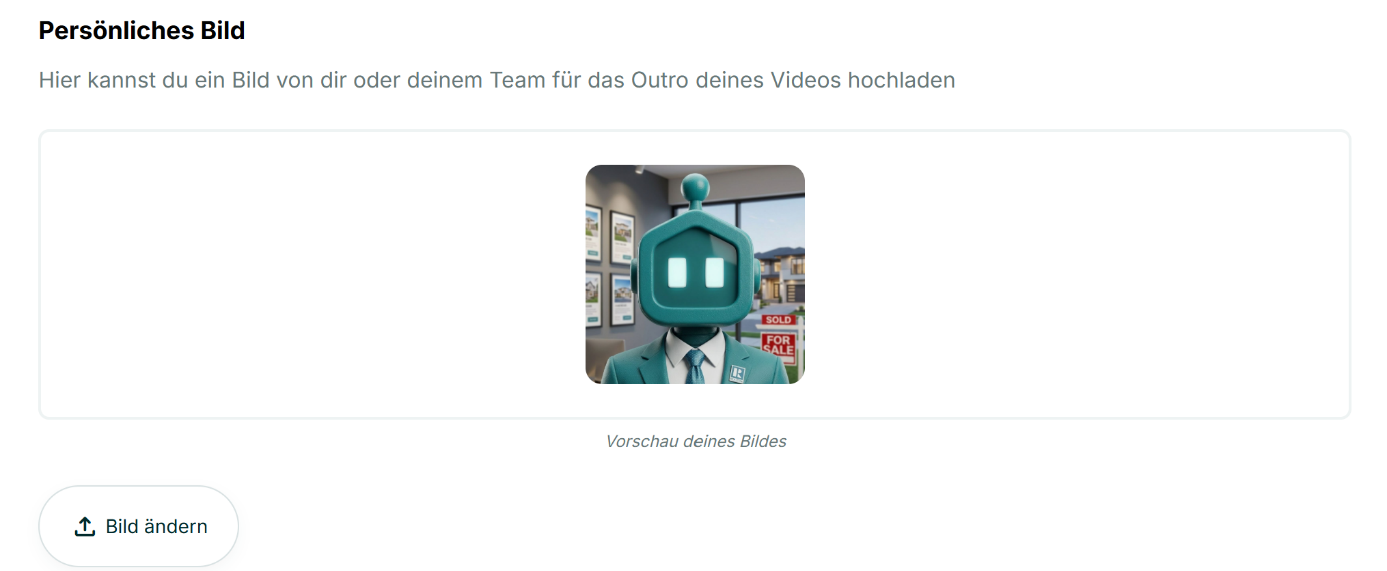
3. Personal profile picture
For more personality in the credits, a portrait photo can be displayed in addition to the logo.
- Upload: Upload a current photo via “Change picture”.
- Display: The image is only displayed if you later select an outro template that contains a contact card. You therefore decide for each project whether the image should be visible.
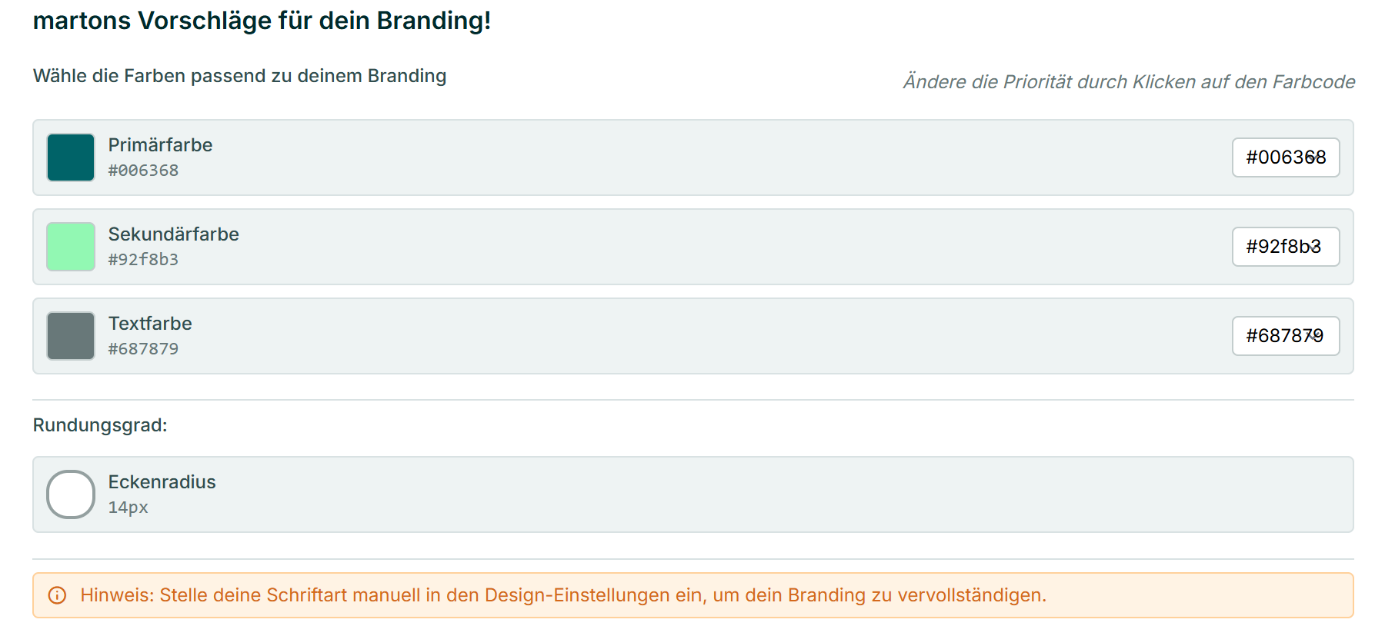
4. Definition of brand colors
Here you define the color scheme for text overlays and backgrounds.
- Primary & secondary color: Usually derived from your logo.
- Text colors: Ensure sufficient contrast to guarantee legibility.
- Background colors: For outro templates with a full-surface background.
- Recommendation: Use white (#ffffff). A white background looks serious, clean and draws the focus optimally to your logo.
5. Font and design language
Adapt the details to your general brand identity:
- Font: Choose a font that corresponds to your corporate font (e.g. “Inter” for modern designs).
- Degree of rounding (corners): Define the corner radii of text boxes and buttons. Use your website as a guide: Use low values (0px) for angular designs or higher values (e.g. 24px) for a soft, rounded look.
6. Templates for intro & outro
Select standard templates for the start and end of your videos.
- Live preview: Check the interplay of logo, colors and template in the preview at the bottom of the screen.
- Notice: The selection made here is a default setting. You can change the template in each individual project as required. The texts displayed (e.g. prices) are purely placeholders.
7. Save and update
To save the settings permanently, click on “Save changes” at the bottom of the page.