 Entry
Entry Dashboard
 Contacts
 Properties
 Email
Email Calendar
 Tasks
Tasks Acquisition Cockpit
 Audit-proof mail archiving
 Automatic brochure dispatch
 Billing
 Groups
 Intranet
 Marketing Box
 Multi Property module
 Multilingual Module
 onOffice sync
 Presentation PDFs
 Process manager
 Project Management
 Property value analyses
 Enquiry Manager
 Showcase TV
 Smart site 2.0
 Statistic Tab
 Statistics toolbox
 Success Cockpit
 Time Tracking
 Address from clipboard
 Text block
 Customer communication
 External Tools
 Favorite links
 Calculating with formulas
 Mass update
 onOffice-MLS
 Portals
 Property import
 Quick Access
 Settings
 Templates
 Step by step
You are here: Home / Additional modules / Marketplace / Provider overview / Servicefux - Cover branding
Marketplace
Servicefux – Cover branding
Cover branding instructions
These instructions describe how to create a cover image in Servicefux cover image branding using a prefabricated cover image template. In addition to these template masks, Servicefux also offers two further options for designing individual masks:
- The integrated Photo Editor allows you to create your own fully configurable masks .
- Alternatively, your own masks can be uploaded as a PNG file via the file management and used directly in the cover image branding.
Below we show you step by step how to use an existing template to create a professional cover image for your property data record.
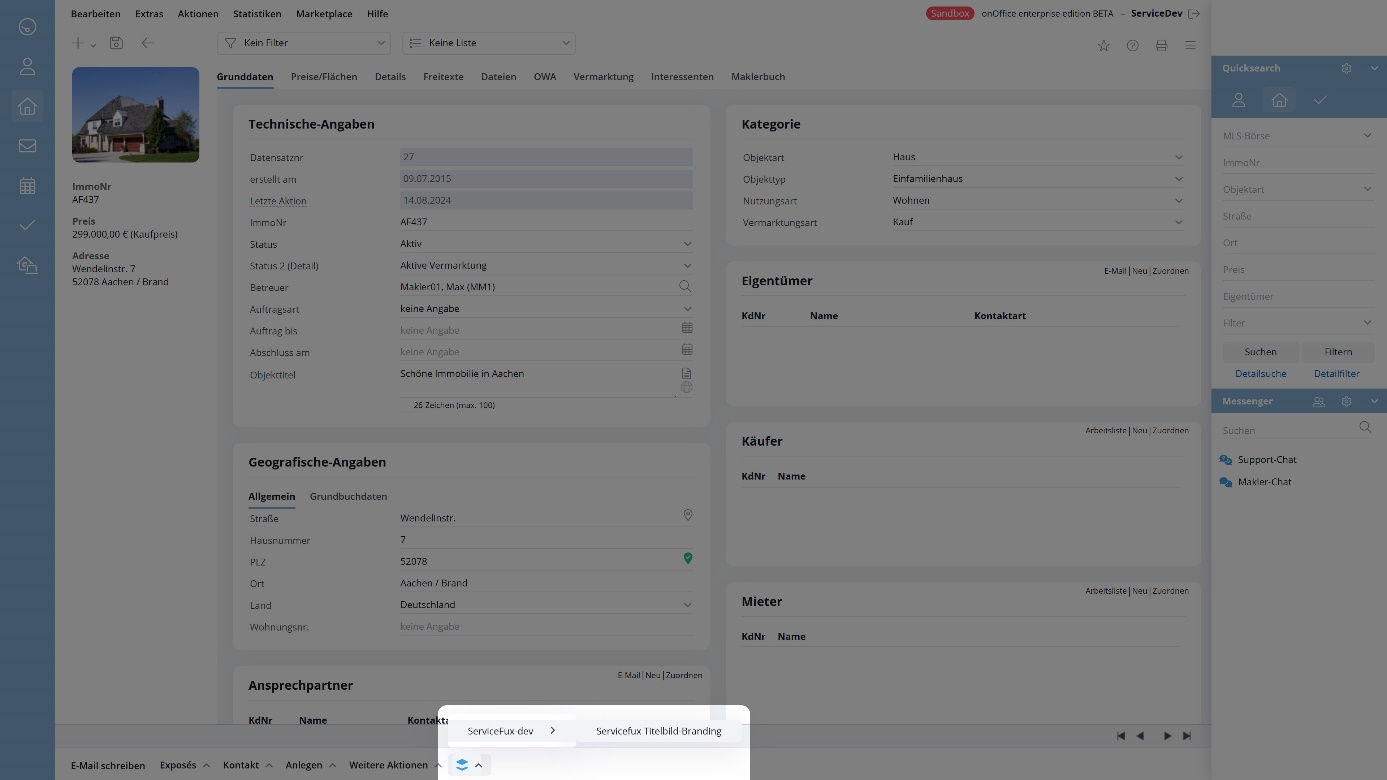
1. Open cover image branding
The cover image branding can be started directly from a property data record in onOffice enterprise .
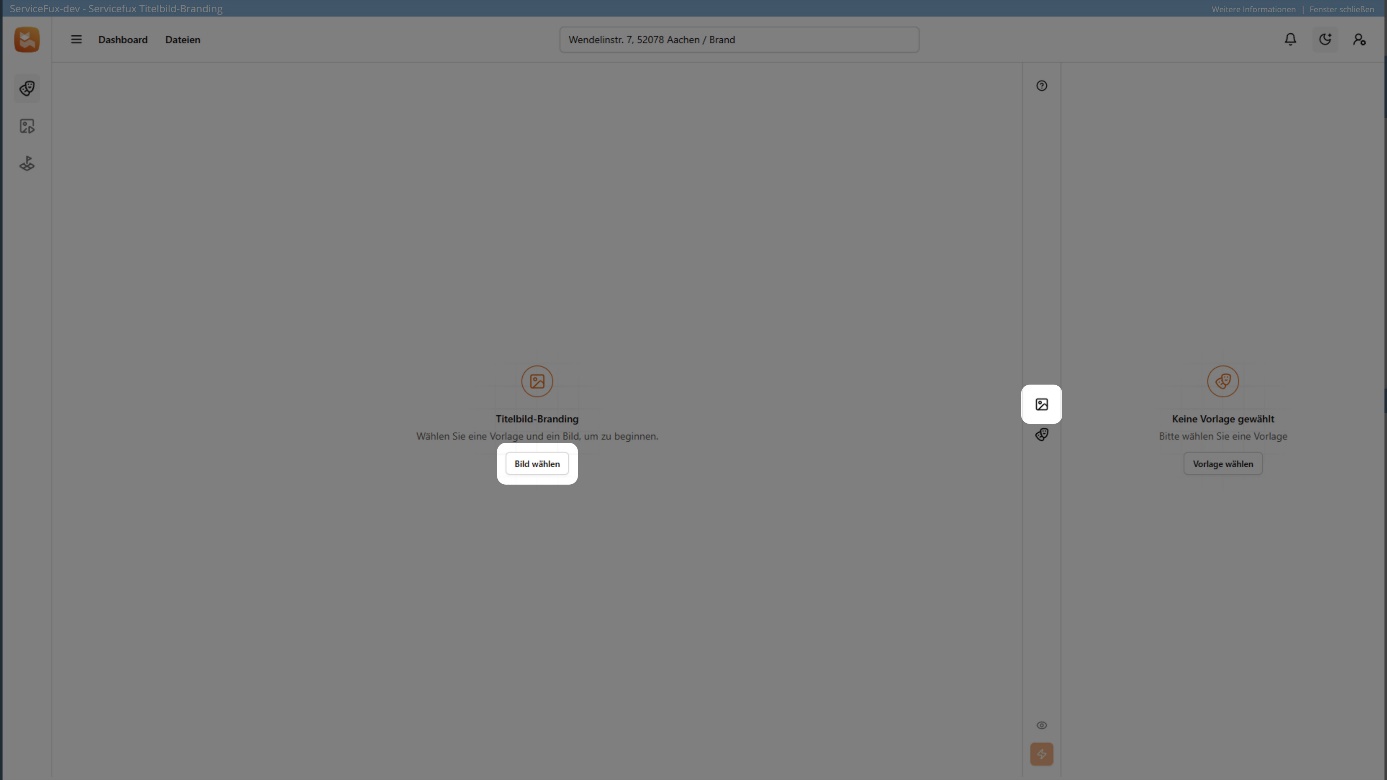
2. Select property image
Open the image selection dialog via the “Select image” button or the image icon in the toolbar to the right of the editing area.
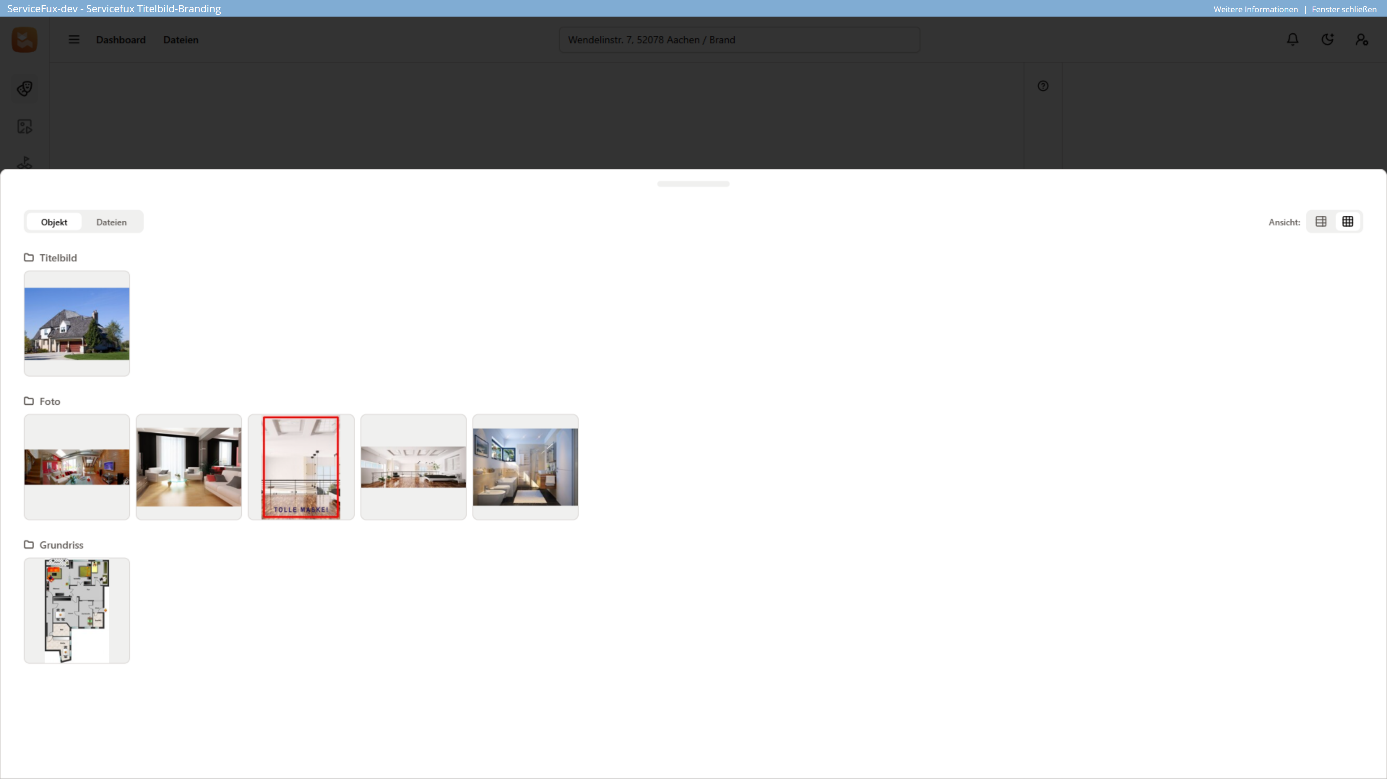
In the image selection dialog, select a suitable image to be used as the cover image.
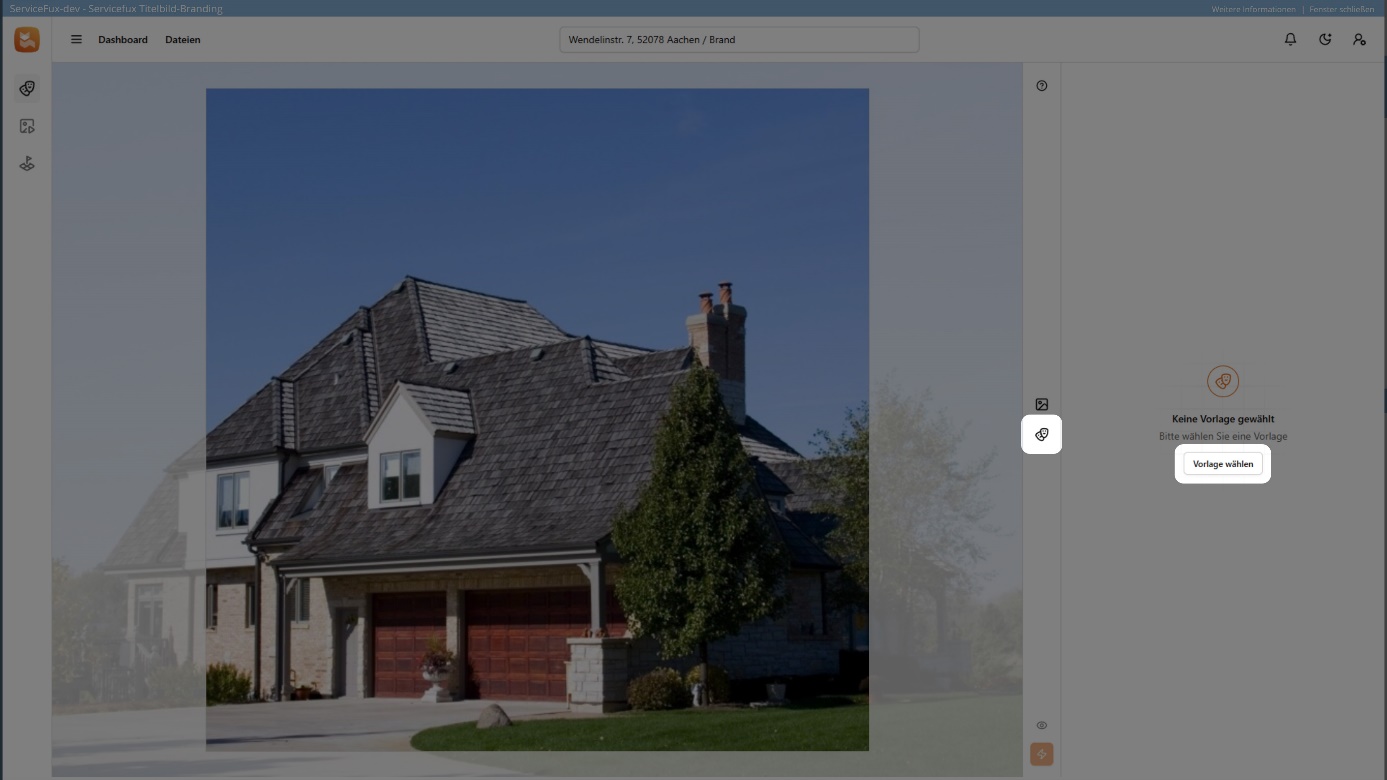
3. Select cover image mask
Start the mask dialog via the “Select template” button or via the mask icon in the toolbar.
Various prefabricated masks are available in the aspect ratios 4:3 and 16:9 . Alternatively, you can upload your own masks as image files via the Servicefux file management. These are also available for selection in the masks dialog in the “Masks” tab.

The selected image and the mask are now displayed in the editing area.
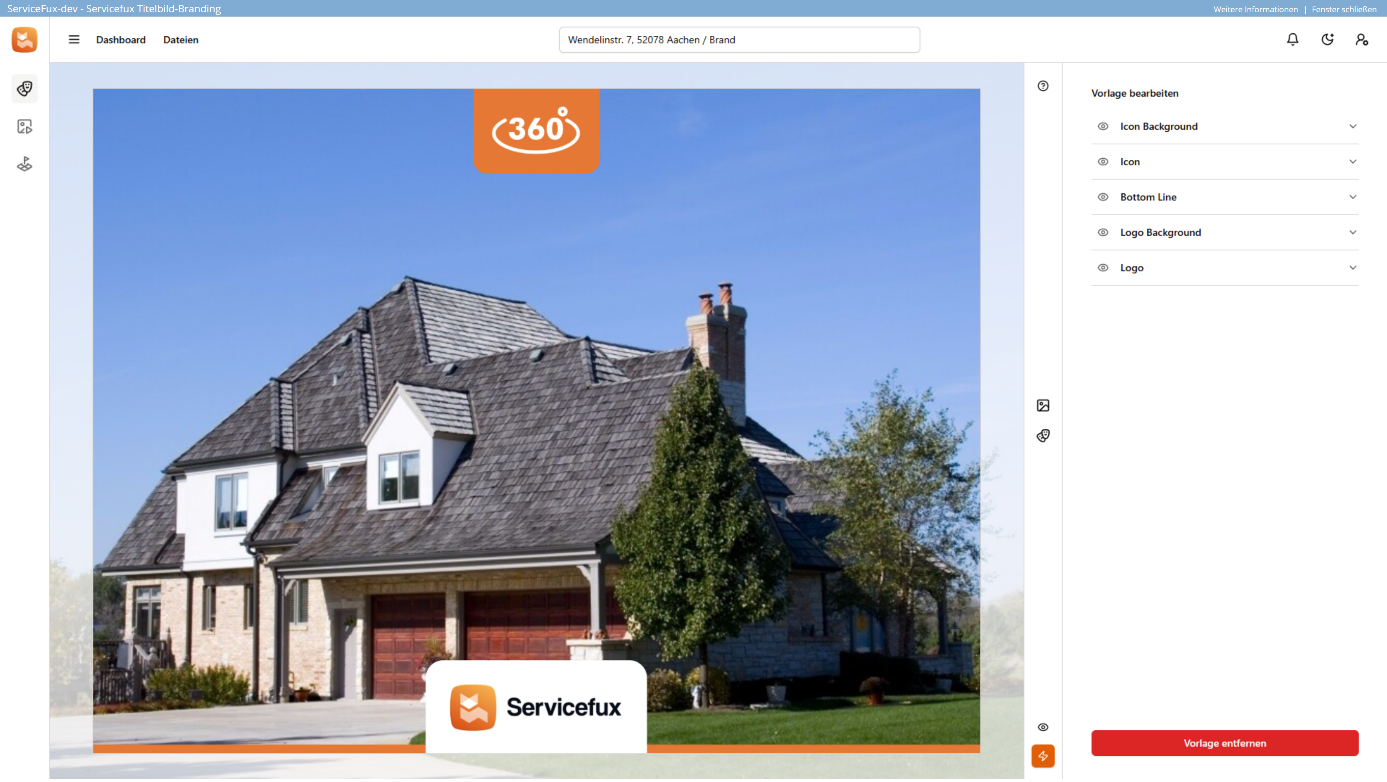
4. Align image & adjust mask
Once the image and mask have been selected, you can:
- move the image with the mouse,
- enlarge/reduce it using the mouse wheel,
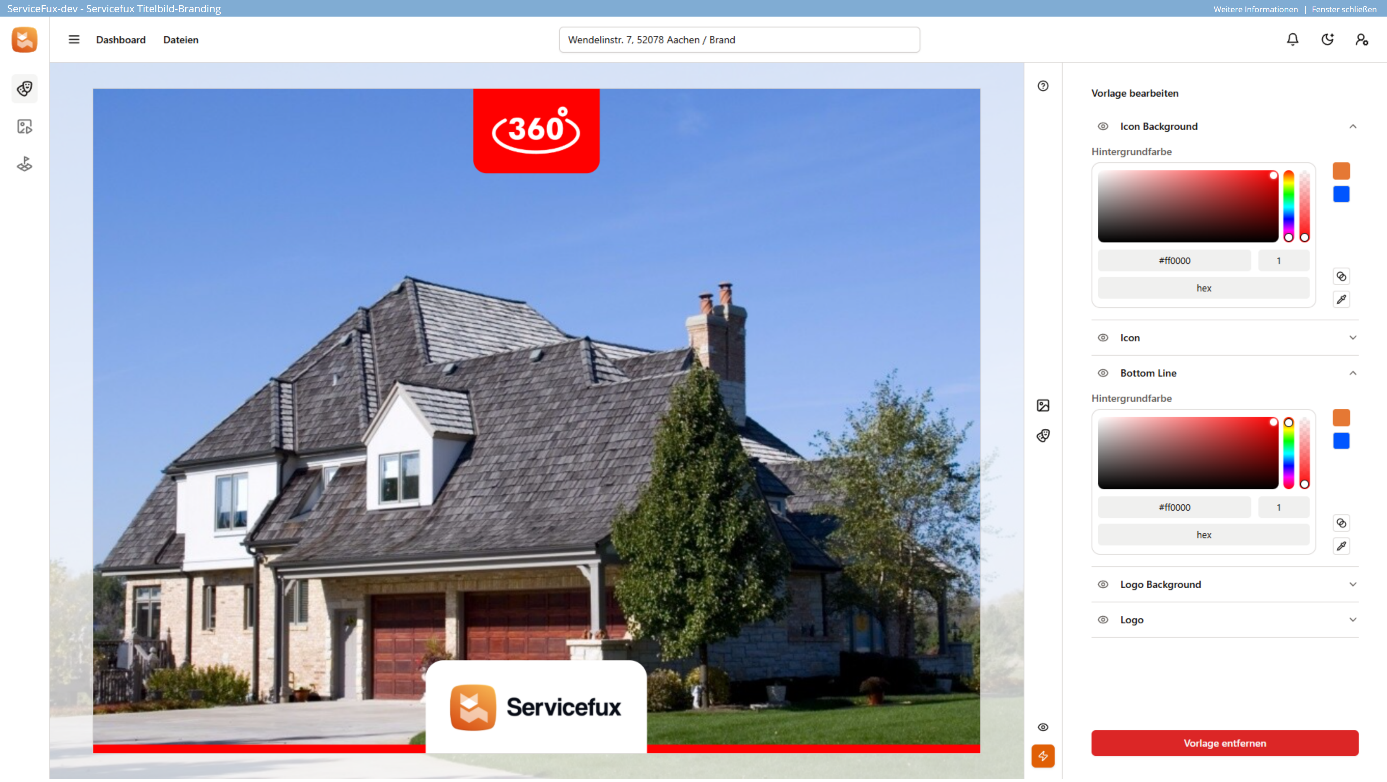
- and customize the mask using the action area on the right.
Important: Only masks that have been created either as a template or via the Servicefux Photo Editor can be customized in the action area.
Masks that have been uploaded as pure image files are not customizable.
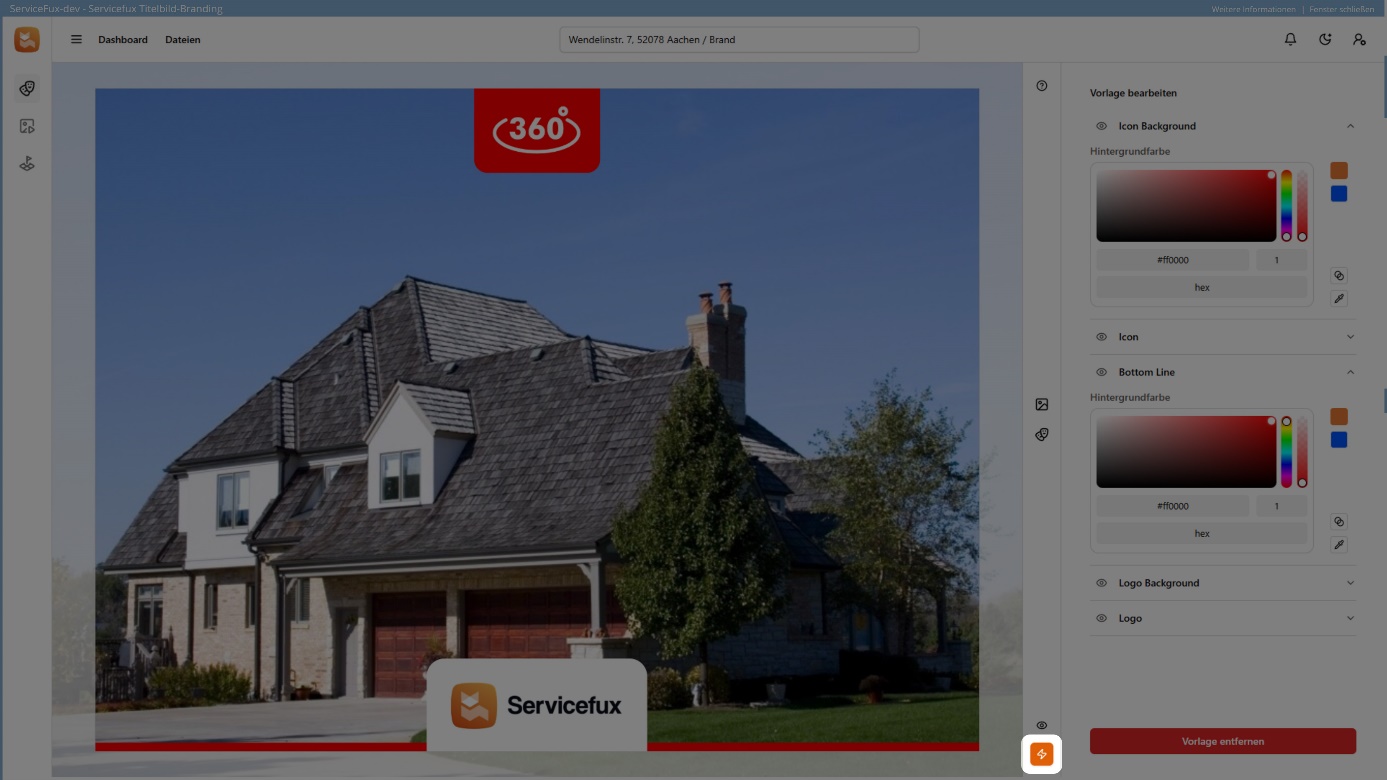
5. Save title image
Click on the orange action buttonto open the save dialog.
Here you can:
- set the file name ,
- select the desired resolution ,
- define the storage location ,
- and make further settings.
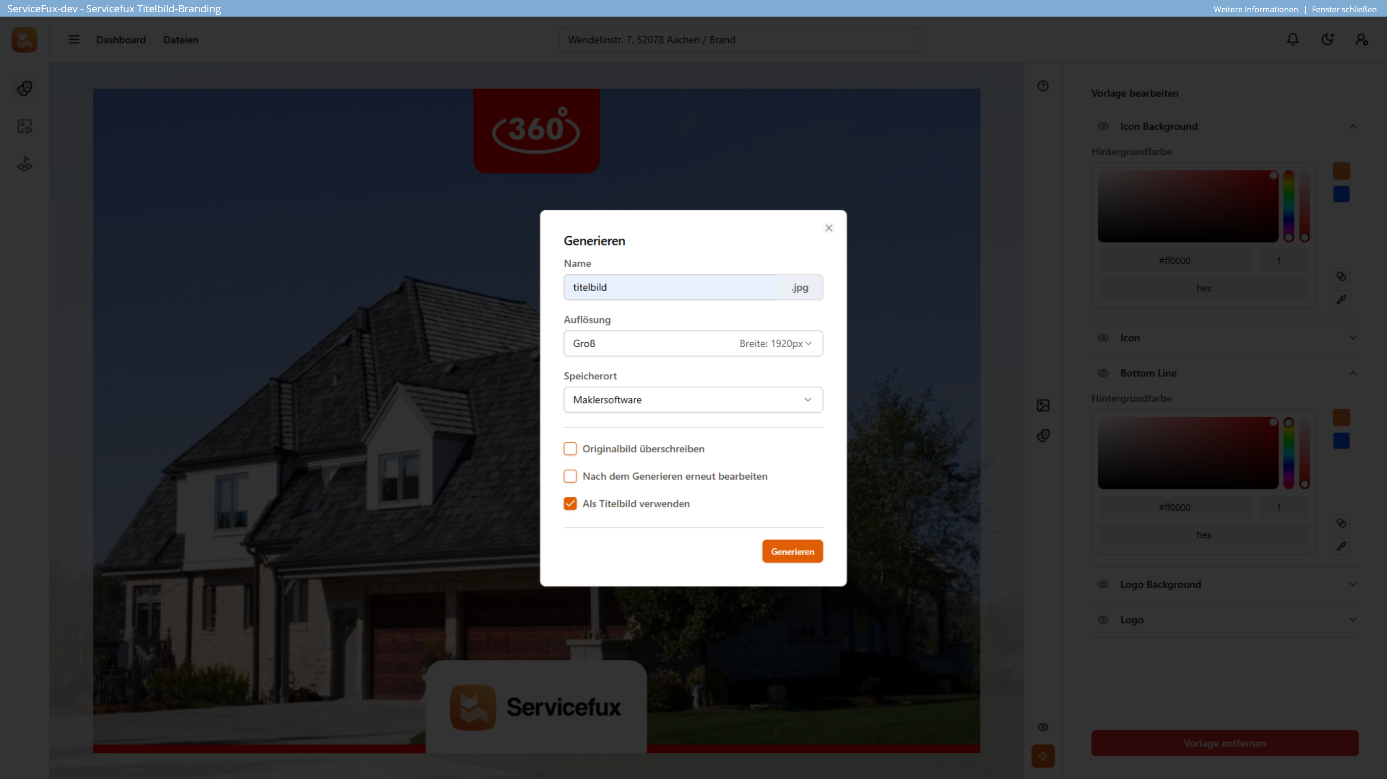
If the storage location is set to “Broker software” , the new title image appears directly in the associated property data record in onOffice. With the help of the option “Use as cover image” , the image is automatically declared and saved as the new cover image.

Helpful tips and hints
- In the Photo Editor , all template masks can be called up and customized according to your own wishes .
- The primary and secondary color can be set in the global settings. Preset colors are automatically transferred to template masks .
- If desired, customizable template masks can be deactivated , so that only static or ready-made cover image masks can be provided and selected by the defined administrator. Unwanted adjustments that do not correspond to the company CI can thus be prevented or stopped. This function can be particularly relevant for larger real estate agent companies.